Best Photoshoot Time in Mumbai: Capture Perfect Light Every Day
Everyone wants that picture where the light makes the subject pop. In Mumbai, the right timing can turn a good shot into a great one. Below are quick, practical pointers you can use right away, whether you’re shooting a wedding, a portrait, or a casual street scene.
Morning vs Evening Light
Early morning, roughly between 6 am and 9 am, offers soft, diffused light that flatters skin tones and reduces harsh shadows. The sky is often clear, and the temperature is comfortable for outdoor crews. If you’re shooting portraits, position the subject with their face angled toward the east to catch the gentle glow.
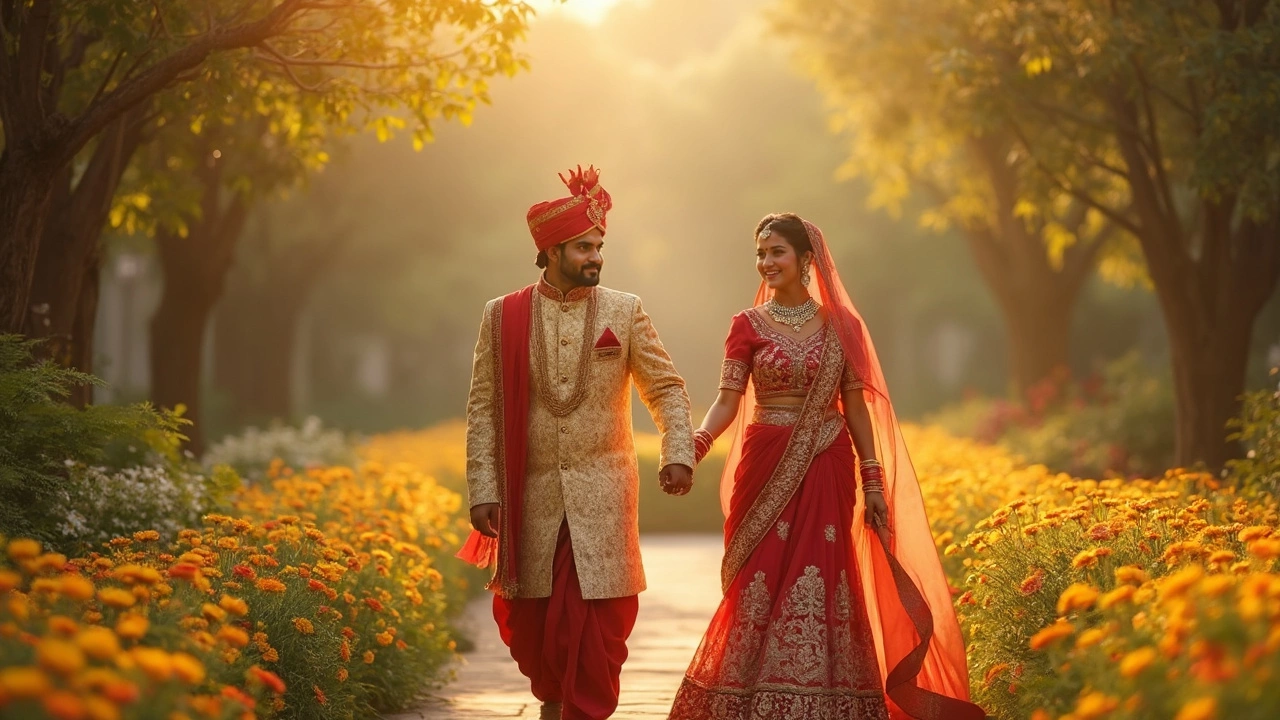
Evening light, especially the “golden hour” from about 5:30 pm to 7:30 pm, gives warm, saturated colors. This is the sweet spot for romantic or dramatic images. Position the sun behind the subject for a subtle rim of light, then use a reflector or a cheap white board to bounce some of that warmth back onto the face.
Avoid the harsh noon window (11 am‑2 pm). Direct sunlight creates strong shadows on the nose, under the eyes, and on the ground. If you must shoot at that time, look for open shade under trees, awnings, or use a diffuser to soften the light.
Seasonal Tips for Mumbai
Mumbai’s monsoon (June‑September) brings overcast skies that act like a giant softbox. Clouds scatter light evenly, which is perfect for fashion and product shoots. Bring waterproof covers for the gear and use the rain as an atmospheric element if it fits the story.
Winter (November‑February) offers the clearest skies and the longest golden hours. Temperatures are milder, so crews stay comfortable longer. Plan outdoor events or pre‑wedding shoots during this period for the most reliable lighting.
The summer months (March‑May) are hot and humid. If you schedule a shoot, aim for early mornings or late evenings to keep everyone cool. Carry plenty of water and a portable fan for the talent.
Indoor shoots give you total control. Use LED panels that mimic daylight (5600 K) for consistent color. Pair them with a softbox or diffuser to avoid hotspots. When shooting near windows, match the white balance to the natural light coming in for seamless blends.
Quick checklist:
- Check the weather forecast 24 hours before the shoot.
- Plan for golden hour windows using a sunrise/sunset calculator.
- Carry a reflector, diffuser, and a small LED panel for fill light.
- Test the white balance on location before the main session.
With these timing tricks, you’ll spend less time fixing lighting in post and more time getting the perfect shot while the sun is on your side.