Passport Photo Compliance Checker
Photo Verification Checklist
Check each item below that applies to your photo. The tool will calculate a compliance score and provide specific feedback.
Ready to Check
PendingSelect the items above that match your photo, then click "Check Compliance Score" to see if your photo meets international standards.
Missing Requirements:
Quick Tips
- Use rear camera, not selfie mode
- Stand 4-6 feet from camera
- Face a window for natural light
- Take multiple shots to avoid blinks
- Crop using official templates
You need a digital copy of your passport photo. Maybe you are applying for a visa online, renewing a travel document, or simply updating your ID file on your phone. It sounds simple enough-just take a picture and upload it, right? Wrong. Government agencies have strict rules about lighting, background, head size, and file format. If your photo is off by even a few pixels, your application gets rejected, and you lose time and money.
Making a compliant digital passport photo at home is easier than it used to be, but you still need to follow specific steps to get it right the first time. Whether you use a smartphone camera or a scanner, the goal is the same: a clear, neutral, front-facing image that meets international standards.
Before we start snapping photos, let’s look at what makes a passport photo valid. This isn’t just about aesthetics; it’s about biometric verification. The system needs to see your face clearly without distractions. While most people focus on their local country's rules, many international services also require specific formats. For instance, if you are traveling extensively in Central Asia, you might find resources like this directory useful for other travel-related logistics, but for your official documents, stick to the government guidelines.
Understanding Passport Photo Requirements
Different countries have slightly different rules, but most follow similar guidelines set by international travel standards. Here are the universal basics:
- Background: Plain white or off-white. No patterns, shadows, or other people.
- Expression: Neutral expression with both eyes open and mouth closed. No smiling, frowning, or raising eyebrows.
- Head Size: Your head must occupy a specific percentage of the photo. For US passports, the head should be between 1 inch and 1 3/8 inches (25mm to 35mm) from the bottom of the chin to the top of the head. For Schengen visas, the height should be 32-36mm.
- Glasses: Most countries now ban glasses in passport photos due to glare and eye visibility issues. Take them off.
- Headwear: Only allowed for religious reasons, and even then, your full face must be visible from hairline to chin.
- Lighting: Even lighting on both sides of your face. No harsh shadows under the eyes, nose, or chin.
If you ignore these rules, your application will likely be flagged for manual review or rejected outright. It’s better to get it right now than to wait weeks for a rejection notice.
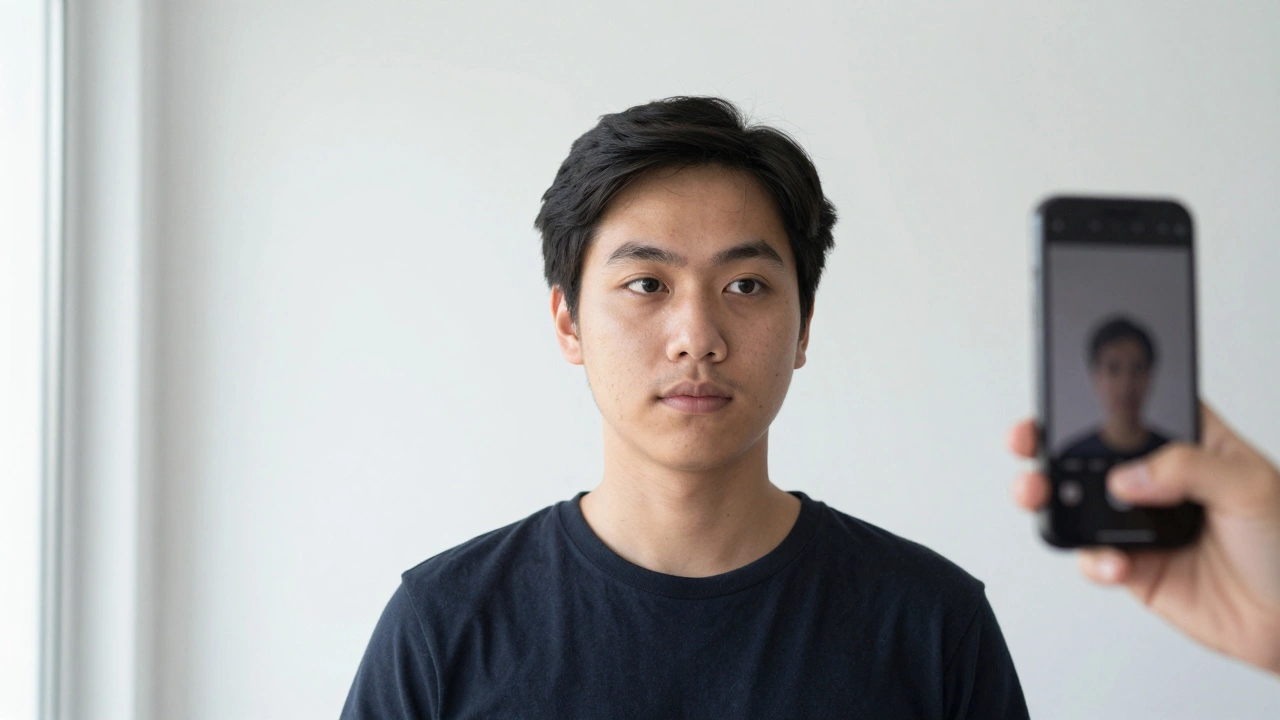
Method 1: Using a Smartphone Camera
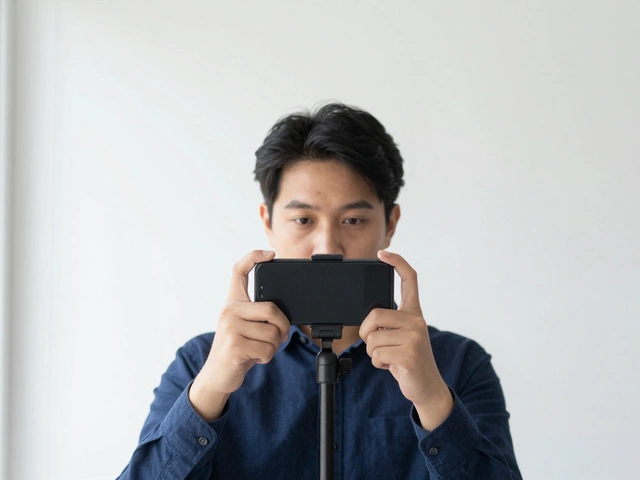
Your smartphone is probably the best tool you have for this job. Modern phones have high-resolution cameras and good autofocus. Here’s how to use one effectively:
- Find the Right Spot: Stand in front of a plain white wall. Natural light is best, so face a window but don’t stand directly in the sun. Avoid overhead lights that create raccoon-eye shadows.
- Set Up Your Phone: Use the rear camera, not the selfie camera. The rear lens has higher resolution and less distortion. Ask a friend to hold the phone at eye level, about 4-6 feet away from you.
- Position Yourself: Stand straight, shoulders back, looking directly at the lens. Keep your head centered. Don’t tilt your chin up or down.
- Take Multiple Shots: Blink once in every few shots to ensure at least one has both eyes wide open. Check the preview immediately for blur or bad lighting.
Once you have a good raw image, you’ll need to edit it. You can’t just upload the full-screen photo. You need to crop it to the correct dimensions.
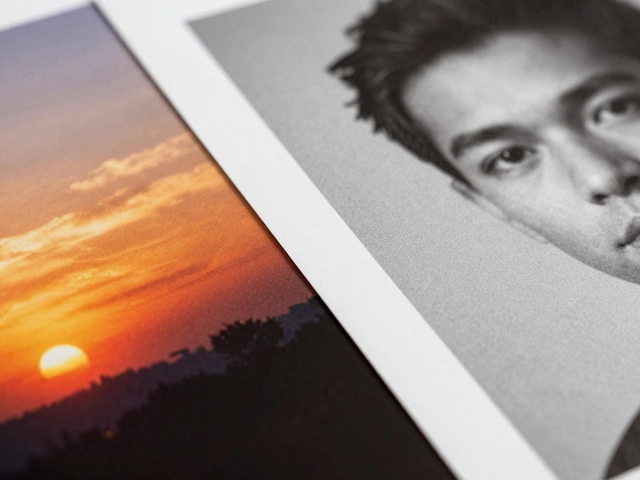
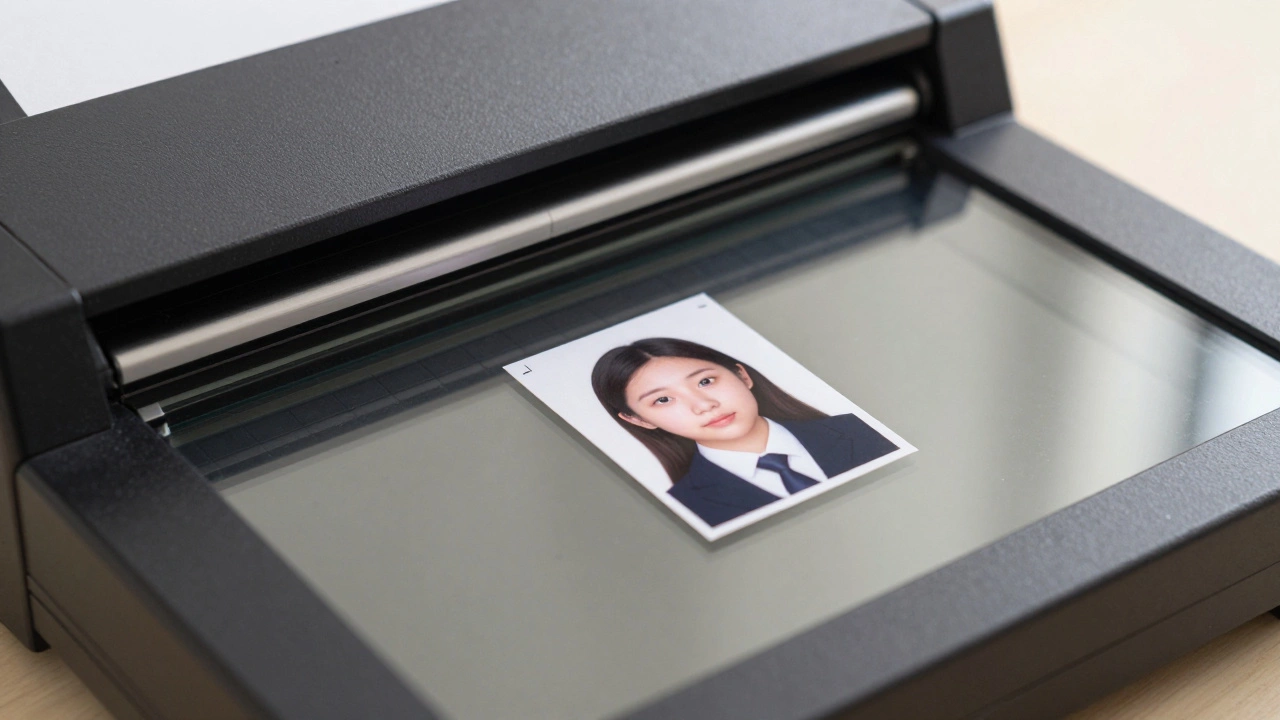
Method 2: Scanning an Existing Physical Photo
If you already have a printed passport photo, you can digitize it. This method works well if you’re in a hurry and don’t want to set up a photoshoot.
- Clean the Scanner Glass: Dust and smudges show up clearly in scans. Wipe the glass with a microfiber cloth.
- Place the Photo: Put the photo face down on the scanner. Align it with the corner guides to keep it straight.
- Set Scan Settings: Use a resolution of at least 300 DPI (dots per inch). Higher resolutions like 600 DPI are fine too, as long as the final file size isn’t too large. Save as JPEG or PNG.
- Check the Result: Open the scanned image on your computer. Zoom in to check for clarity. If it’s blurry, rescan it.
Scanning avoids lighting issues, but you still need to crop the image correctly. Old photos might also be faded or discolored, which could lead to rejection.
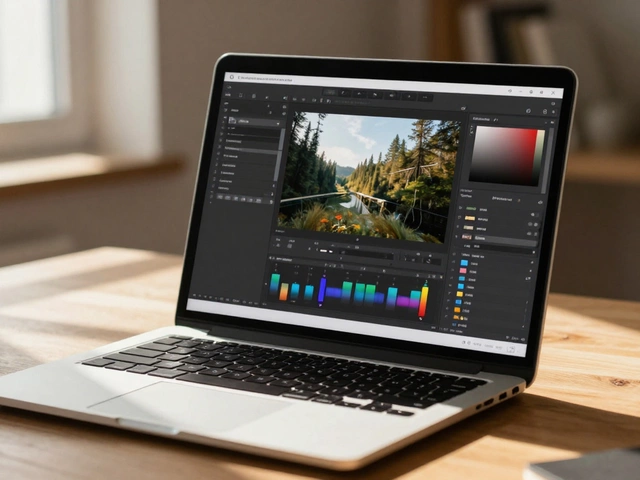
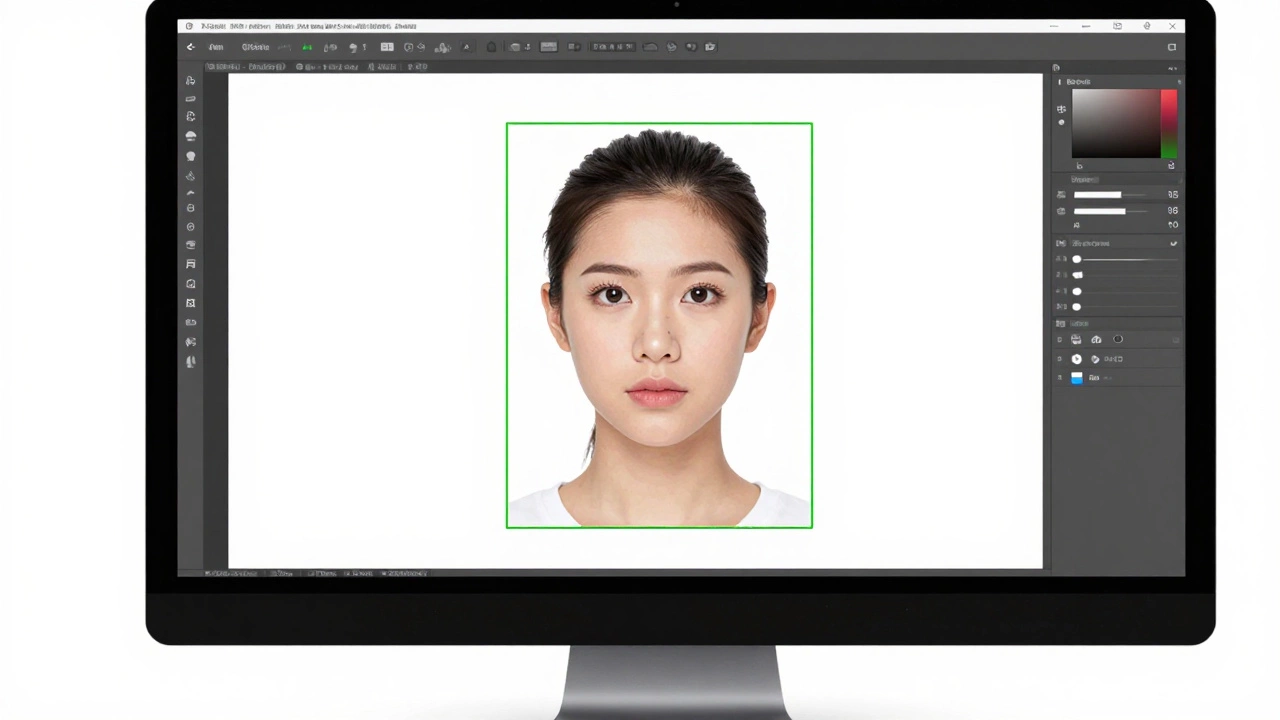
Cropping and Resizing Your Photo
This is where most people make mistakes. You can’t just stretch or squish the image to fit the required size. That distorts your face. Instead, you need to crop and resize proportionally.
Most smartphones and computers have built-in photo editors that allow cropping. However, for precise control, I recommend using free online tools or dedicated apps. These tools often have templates for specific countries (US, UK, India, Schengen, etc.).
Steps to Crop Correctly:- Select the Template: Choose your country or region in the app. This sets the correct aspect ratio and head size parameters.
- Align Your Face: Drag the frame so your eyes are within the guide lines. Most apps show a green box around your face when it’s positioned correctly.
- Adjust Background: Ensure the background is pure white. If there’s a shadow, use the brightness/contrast sliders to lighten it, but don’t overdo it.
- Save the File: Export the image as a JPEG. Check the file size. Many applications require files to be under 240KB or 2MB. If it’s too big, compress it without losing quality.
Popular free tools include Canva, Adobe Express, and specialized sites like PassportPhoto.online. They automate the cropping process, which reduces human error.
Common Mistakes to Avoid
Even with the best equipment, small errors can ruin your photo. Here are the most frequent pitfalls:
- Red-Eye: Caused by flash photography. Avoid using flash. If red-eye occurs, use the red-eye removal tool in your editor, but be careful not to blur the eyes.
- Uneven Lighting: One side of your face brighter than the other. This suggests poor lighting setup. Reposition yourself closer to the light source or use a reflector (a white piece of paper works).
- Incorrect Head Position: Looking slightly to the left or right. Your gaze must be direct. Imagine looking into the soul of the person reviewing your application.
- Wearing Dark Clothing Against a Dark Background: Always wear contrasting colors. A dark shirt against a white background works best. Avoid white shirts if the background is white, as your shoulders may blend in.
- Filtering or Beauty Apps: Never use Snapchat filters, Botox effects, or heavy smoothing. Governments reject photos that alter facial features. Keep it natural.
Verifying Your Digital Photo Before Submission
Before you hit “upload,” double-check your work. Here’s a quick checklist:
- Is the background purely white?
- Are both eyes clearly visible and open?
- Is your mouth closed and expression neutral?
- Is the head size within the specified range?
- Is the image sharp and in focus?
- Does the file meet the size and format requirements (JPEG, under X KB)?
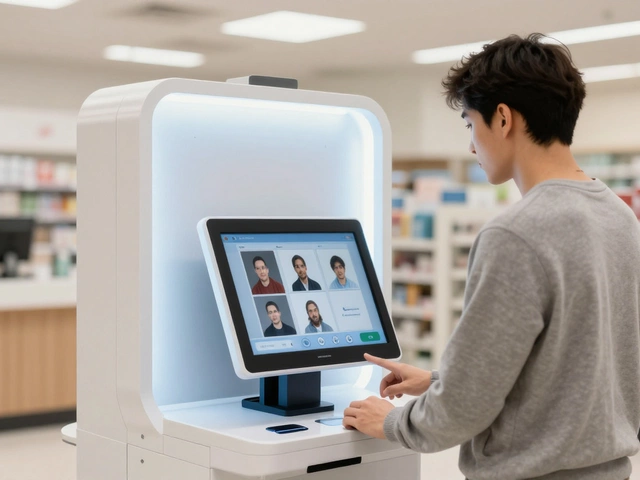
If you’re unsure, compare your photo with sample images provided by your country’s passport office. They usually publish examples of acceptable and unacceptable photos. Side-by-side comparison can reveal subtle issues you might have missed.
What to Do If Your Photo Gets Rejected
Rejection happens. Don’t panic. Read the reason carefully. Was it the background? The head size? Glasses? Fix that specific issue and retake the photo. Sometimes, the rejection is due to technical glitches in the upload portal. Try uploading from a different browser or device. If all else fails, visit a professional photographer who specializes in ID photos. They know the exact specs and can guarantee compliance.
Can I use a selfie for my passport photo?
Technically, yes, if it meets all requirements. However, selfies are often taken at awkward angles, with arms visible, or with distorted faces due to close-range lenses. It’s safer to have someone else take the photo or use a tripod to ensure proper framing and distance.
What is the ideal resolution for a digital passport photo?
Aim for at least 600x600 pixels for standard passport sizes. Higher resolutions are acceptable as long as the file size remains within the limits set by the application portal (usually 240KB to 2MB). Always check the specific requirements of your country’s immigration website.
Do I need to remove glasses from my passport photo?
Yes, most countries including the US, UK, Canada, and Schengen nations require applicants to remove glasses. Glare, reflections, and frames can obscure your eyes, leading to automatic rejection. Only medical exemptions apply in rare cases.
How do I change the background color of my photo to white?
Use photo editing software like Photoshop, GIMP, or free online tools. Select the background area using a lasso or magic wand tool, then fill it with white (#FFFFFF). Ensure edges around your hair are smooth and natural-looking. Avoid leaving halos or jagged lines.
Is it okay to smile in a passport photo?
No. A neutral expression is required. Smiling changes the shape of your face and teeth, which can interfere with facial recognition technology. Keep your mouth closed and relax your facial muscles for a natural, serious look.