How to Set Up a Mini Studio at Home in India
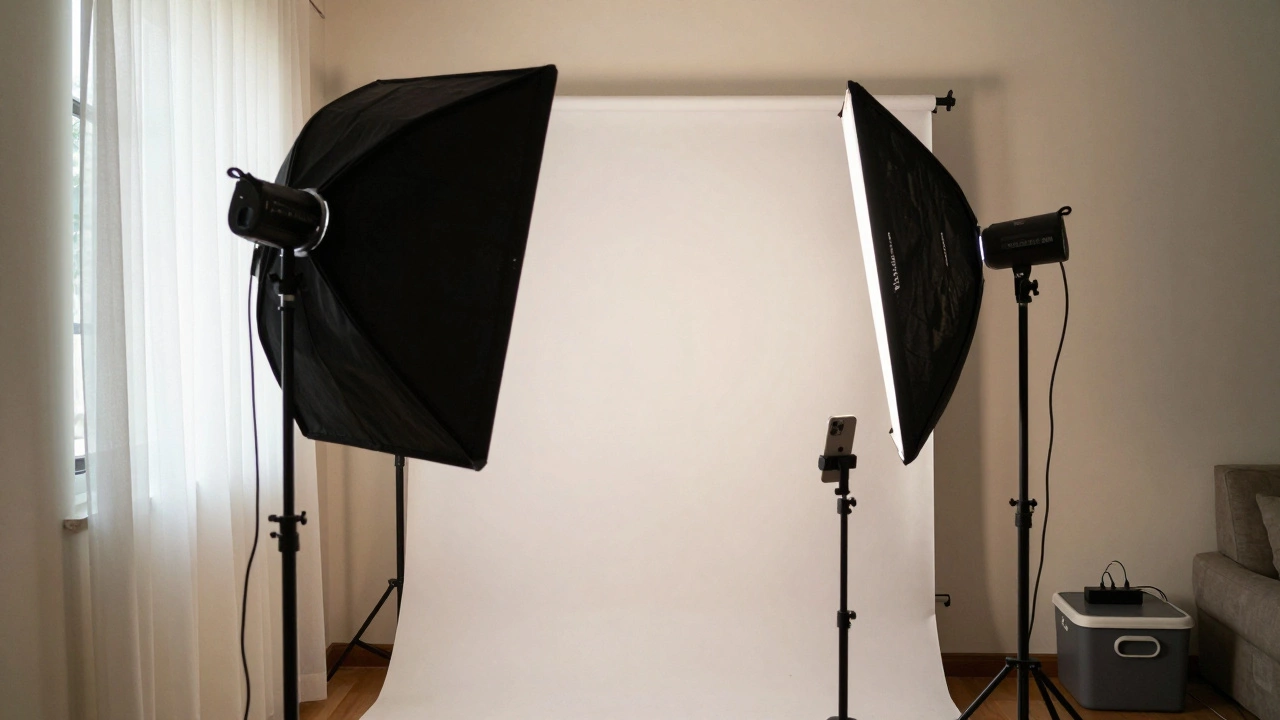
Learn how to set up a budget-friendly home studio in India using just a smartphone, one light, and a white backdrop. Perfect for content creators, small businesses, and photographers.
When you're shooting indoors, studio lighting, the controlled use of artificial light to shape how a subject looks in a photo. Also known as artificial lighting setup, it's what turns a flat, dull image into one with depth, mood, and professional polish. You don’t need a fancy studio or expensive gear to get great results—just smart choices. In Mumbai, where natural light can be unpredictable and indoor spaces often lack windows, knowing how to use studio lighting makes all the difference for wedding photographers, portrait artists, and even small business owners shooting product photos.
Good studio lighting setup, the arrangement of lights, modifiers, and positions to achieve a desired look. Also known as lighting configuration, it usually starts with three basic elements: key light, fill light, and back light. The key light is your main source—it defines the shape. The fill light softens shadows so your subject doesn’t look harsh. The back light separates them from the background, adding dimension. Many beginners skip the fill and end up with dark, unflattering faces. A simple white foam board can act as a cheap fill reflector. You don’t need a $500 softbox—just a lamp, a white sheet, and a little patience.
portrait lighting, a lighting style focused on highlighting facial features and emotion in human subjects. Also known as face lighting, it works differently than product lighting. For portraits, you want soft shadows that follow the natural curves of the face. Side lighting adds drama, while front lighting flattens features but is great for even skin tones. In Mumbai’s humid climate, sweat and shine can ruin a shot—so use a diffuser to soften the light and reduce glare. A lot of photographers here use LED panels because they stay cool, use less power, and let you see exactly how the light falls in real time.
Don’t overcomplicate it. One of the most common mistakes? Using too many lights. You don’t need five lamps to get a great shot. Start with one. Learn how moving it a few inches changes the whole feel. Try placing it at a 45-degree angle above eye level—that’s the classic portrait sweet spot. Then add a reflector opposite it. That’s it. You’ve just done professional-level lighting.
What you’ll find below are real, tested tips from photographers working in Mumbai—how they handle small apartments, power outages, and tight deadlines. You’ll see how to use household items as lighting tools, how to fix harsh shadows without buying gear, and what settings to use when your light isn’t perfect. No theory. No fluff. Just what works when you’re shooting on a deadline, with limited space, and no assistant.
Learn how to set up a budget-friendly home studio in India using just a smartphone, one light, and a white backdrop. Perfect for content creators, small businesses, and photographers.