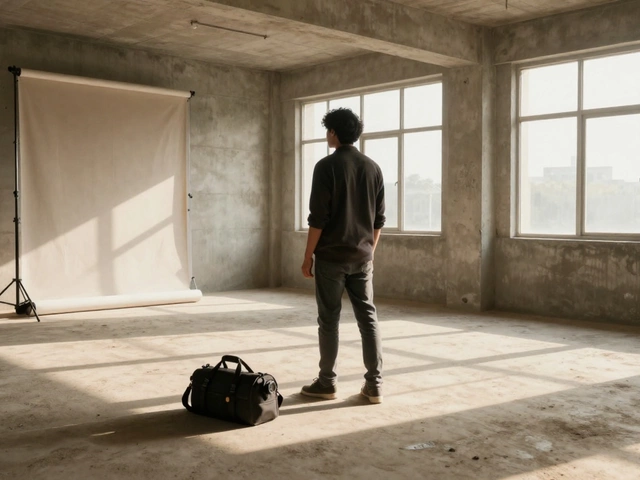
If you're eyeing that empty corner in your house and thinking, "Could this be my new studio?"—you're already halfway there. Setting up a studio in India doesn't take fancy gear or a pile of cash. In fact, a lot of bedroom hits and viral podcasts started with just a regular room, a basic laptop, and some hustle.
The real trick isn't about buying the most expensive gear—it’s about making smart choices with the space, stuff, and money you already have. Most beginners worry about needing a soundproof palace or pro-level gadgets, but you’d be surprised how much you can do with a simple setup and a bit of local know-how.
Start with what you have. Even an average Indian apartment can become a creative hub if you know where to put your desk and which corners to treat for sound. You don’t need to rip up walls or import gear from abroad—there are plenty of budget-friendly options that are made for Indian conditions: think humidity-friendly panels or power surge protection for those annoying voltage swings. Factor in the noise from traffic, festivals, or that uncle who loves honking his horn—a few smart tweaks can go a long way.
Ready to get hands-on? Keep reading to sidestep the usual mistakes, find gear that suits the local scene, and set up a studio that gets the job done right in your own space.
- Finding Your Perfect Room
- Acoustic Fixes That Actually Work
- Gear That Gets the Job Done
- Easy Setup & Smart Wiring
- Common Mistakes & Easy Wins
Finding Your Perfect Room
This is where most people mess up: they pick the wrong room. You don’t need a giant space, but a few things matter way more than you’d think. The shape and size of your room can really change how things sound. Small square rooms can sound boxy or weird, so go for a rectangle if you can. Oddly-shaped rooms often work better because sound waves don’t bounce around in predictable ways.
Unless you're secretly rich, you'll probably be working out of a bedroom or extra room. Stay clear of rooms right next to busy roads or kitchens—background noise like street vendors, pressure cookers, or even construction can creep into your recordings. If you’ve got a choice, pick a room away from traffic and shared building walls.
Natural light is good for your mood, but windows are a pain for acoustics. If the only empty room is full of windows, grab some heavy curtains—they help muffle sound inside and can keep street noise out.
- High ceilings beat low ones—less sound gets trapped near your ears.
- Choose a room with thick concrete or brick walls (common in Indian construction). It keeps more sound in, less trouble with neighbors.
- Fewer corner spaces mean fewer problems with bass buildup. If the room has built-in wardrobes, you can even use those for storage or to help cut down on echo.
If you’re not sure how quiet a room actually is, record a 30-second clip at different times of day. Listen on headphones—you’ll quickly notice that power generator hum at 2 pm, or school kids yelling at 4 pm.
| Room Type | Noise Level (dB) | Likely Issues |
|---|---|---|
| Bedroom (inside flat) | 35-45 | Minimal, controllable |
| Living Room (outside facing) | 50-60 | Street noise, echo |
| Ground Floor (near road) | 60-75 | Constant outside noise |
Remember, the studio setup India game is about making the best with what you’ve got. Pick the quietest, least echo-prone spot, and you’ve already won half the battle. You can always fix up the rest with some tweaks later on.
Acoustic Fixes That Actually Work
Let’s be honest: setting up good acoustics in your Indian home studio can get tricky with thin walls, tiled floors, and loads of outside noise. You don’t need to shell out for pro studio foam from day one—there are smarter, budget-friendly solutions that’ll instantly improve your sound. Here’s what actually works when setting up your studio setup India project.
The biggest enemies are echo, flutter, and street noise. Soft stuff helps. Thick curtains, good quality rugs, and even mattresses pushed against the wall can soak up those annoying reflections. If fans, auto-rickshaws, or neighbors are making a racket, double up on window seals and use heavier curtains to block outside rumble.
- Moveable Fixes: Place spare cushions or rolled-up blankets in the corners, especially behind your speakers and in the ceiling corners. This is called bass trapping—those low booms like to hide in the corners.
- DIY Panels: Grab some wooden frames, fill them with mineral wool or glass wool (sold at building supply stores), then wrap them in simple cotton cloth. Put these panels right at the spots where sound bounces—usually the wall right behind where you sit, and on the wall beside your speakers.
- Furniture Magic: A packed bookshelf, couch, or cupboard can help break up sound jumbling around the room—it's not about fancy looks, it’s about breaking up harsh echoes.
Here’s a quick table showing what Indian setups usually struggle with, and what actually helps:
| Problem | What Works | Cost Level |
|---|---|---|
| Echo and Room Reverb | Rugs, curtains, DIY acoustic panels | Low to medium |
| Bass Boom | Bass traps in corners (blankets, foam, or panels) | Low |
| Outside Noise | Double curtain layers, window sealing tape | Low |
| Flutter Echo | Furniture (sofa, bookshelf), wall panels | Mostly free |
One more small thing: don’t put your desk or speakers right up against the wall. Pull them out a little—about a foot if you’ve got space. That little gap helps reduce weird bass build-up and just makes everything sound better. You don’t need a studio engineer’s degree to make these changes—just a bit of rearranging and some everyday stuff from your own home will do the trick.
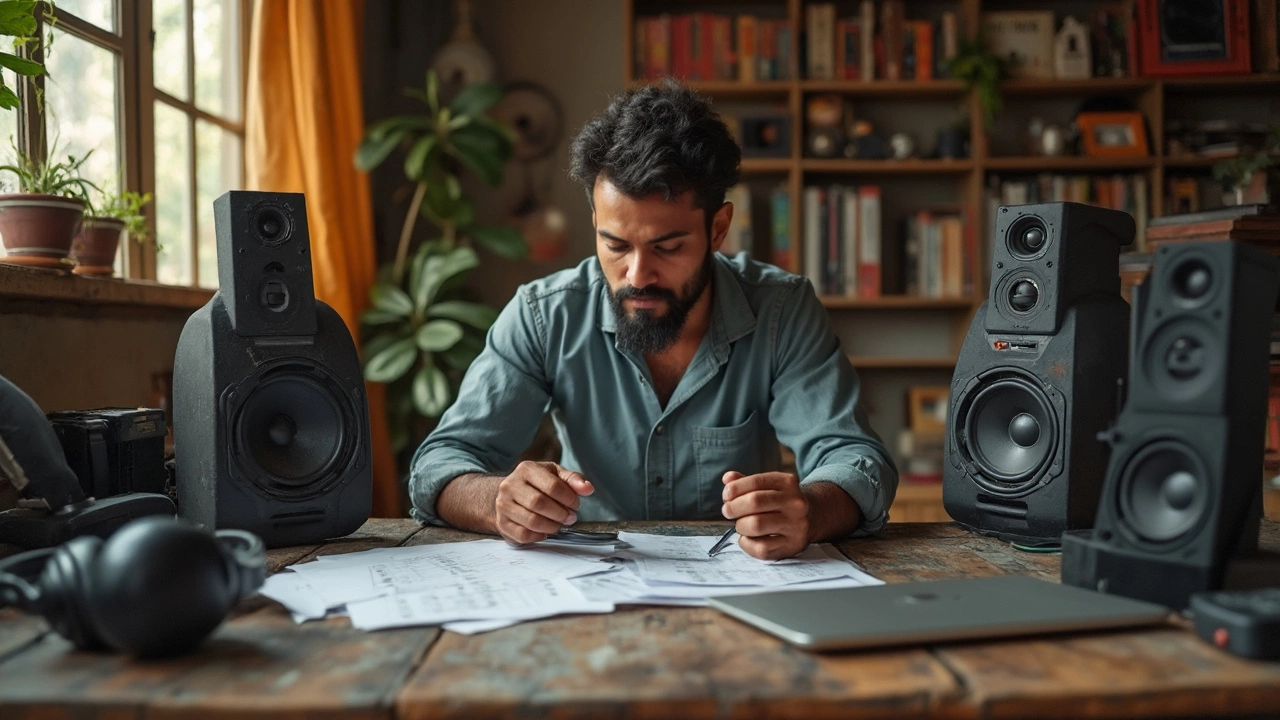
Gear That Gets the Job Done
Here’s where things get real: picking gear for your studio setup India project means balancing quality and budget. You don’t need a massive list, but you do need the right basics. Most Indian creators use a laptop running FL Studio, Ableton, or Audacity; you don’t need a powerful PC unless you’re heavy on plugins or video production.
Let’s break down the must-haves:
- Audio Interface: Start simple—Focusrite Scarlett Solo, PreSonus AudioBox, or the super-affordable Behringer UMC22. These are all easy to find online and have solid local support.
- Microphone: The Audio-Technica AT2020 remains a favorite across India for vocals and instruments. If that’s pricey, Maono and AKG offer good entry-level condenser mics. Always add a pop filter; it’s a game-changer for ₹200.
- Headphones: Don’t judge with your phone earphones. Go for Audio-Technica M20x or Sony MDR-7506. Both are rugged, comfy, and give you the real picture.
- Studio Monitors: Not everyone has the space, but if you do, Kali LP-6 and Yamaha HS5 are reliable and available at Indian music stores. Otherwise, decent headphones work as backup.
- MIDI Keyboard: Akai MPK Mini and M-Audio Keystation Mini are affordable, portable, and work well with all DAWs.
Don’t forget cables, stands, and surge protectors. India’s power cuts and spikes are notorious for frying gear. A spike buster with USB slots keeps things charged and safe.
| Item | Recommended Models | Approx. Price (INR) |
|---|---|---|
| Audio Interface | Focusrite Scarlett Solo, Behringer UMC22 | 7,000 - 11,000 |
| Microphone | AT2020, Maono AU-A04 | 3,000 - 8,000 |
| Headphones | Audio-Technica M20x, Sony MDR-7506 | 3,000 - 7,000 |
| MIDI Keyboard | Akai MPK Mini, M-Audio Mini | 5,000 - 8,500 |
| Pop Filter | Generic | 200 - 400 |
| Surge Protector | Anchor/Belkin Spike Buster | 600 - 2,000 |
For software, most DAWs offer free trials and student discounts—check FL Studio’s official India pricing or explore open-source options like Cakewalk. Pirated versions might seem tempting, but they’re risky and often buggy. Stick to legit software for peace of mind.
Want to upgrade later? Add a second mic, external hard drives for backups, or acoustic panels for tighter sound. Bottom line: start small, buy smart, and upgrade only when you outgrow what you have.
Easy Setup & Smart Wiring
So you've picked your spot and got your gear. Now, the way you set up and wire everything makes a massive difference in how well your studio setup India actually works. Did you know poor wiring is the top reason for weird hums and random interruptions in recording studios? It's not just about neatness—clean wiring stops ugly noise and saves you stress.
First, place your power outlets and extension boards where they’re out of your way, but close enough so you don’t trip over cables. A small Indian room can look like a jungle of wires if you don’t plan this out. Label every plug and cable—masking tape and a pen work fine. This makes troubleshooting quick when you’re in the middle of a late-night session and something dies.
Run audio and power cables separately. When these cross each other, annoying electrical noise can sneak into your recordings. One simple tip: keep power cables along one wall and your audio cables along another as much as possible. Use cable clips or zip ties to bundle and guide them, which keeps things tidy and avoids tangles.
Grounding is a headache in many Indian homes, thanks to old wiring. If you're serious about good sound, invest in a surge protector with inbuilt grounding. No one wants a power surge frying their laptop or interface during a monsoon storm. Some studio folks even run a separate line from their breaker—do that only if you know how or call a trusted electrician.
Here’s another thing: don’t stack adapters. Overloading a single socket can not only cause buzzing, but it’s also a serious fire risk. If you need more outlets, get a heavy-duty extension board from a trusted Indian brand.
“A clean and well-organized cable layout is just as important as your gear. A messy studio is more likely to have technical problems when you least expect it.” — SoundBetter India Community Guide
Finally, before you power everything up, do a simple test: turn on one piece of equipment at a time and listen for buzz or clicks through your speakers or headphones. Catching problems early will save your recordings and your nerves. An easy setup now means way fewer headaches when you hit record.

Common Mistakes & Easy Wins
People jump into building a studio and often get tripped up by things that seem small but make a big difference. Trust me, you don’t need to waste cash or stress out over stuff that’s actually easy to fix—if you know what to watch out for.
The most common newbie mistake? Spending too much money on gear but totally ignoring acoustics. You might buy the best mic and interface around, but if your room is echoey or full of outside noise, your recordings will never sound professional. Fixing your room before buying fancy equipment almost always pays off, especially in a studio setup India where city sounds or local festivals can sneak into every take.
Don’t forget about power issues. Indian cities are famous for sudden voltage drops or surges. Many beginners skip using surge protectors or power conditioners. Even a cheap surge protector can save your gear from a nasty shock, so just get one from day one.
- Don’t push everything against the wall. Pull your desk and speakers out a bit to avoid weird sound reflections—two feet from the wall is a good start.
- Always check your setup for loose connections and cable tangles. Bad cables or weak plugs cause more gear headaches than people realize.
- Don’t buy a ton of fancy software you’ll never use. Master the basics—your DAW and maybe a couple of free plugins—before you splash out.
- Skip the temptation to copy Western studio designs exactly. What works in a Californian basement might not survive Mumbai’s humidity or Bangalore’s blackout-prone afternoons.
One easy win? Use whatever local materials you can find—foam, thick curtains, even old mattresses for makeshift sound treatment. Plenty of Indian studios started out using just that. And keep an eye on your room temperature and humidity, since both mess with how well your gear and instruments work, especially in places like Chennai or Kolkata.
Bottom line: save your money for what actually matters. Listen to how your room sounds, stay organized, and pay attention to your basics. You’ll get way further, way faster.