How to Take Passport Size Photos for Free
Learn how to take a passport-size photo for free at home using just your smartphone. Follow simple steps for lighting, background, and cropping to meet Indian passport requirements without paying a studio.
When it comes to passport photo background, a plain, uniform color required by governments worldwide to ensure clear facial recognition and document validity. Also known as white background passport, it’s not just about looking neat — it’s a legal requirement. Get it wrong, and your application gets rejected, no matter how perfect your smile is. Most people think any white wall or sheet will do. But governments like the U.S. Department of State, India’s Passport Office, and the UK Home Office have strict rules: the background must be pure white or off-white, with zero shadows, no patterns, no textures, and no other objects in frame. Even a faint gray blur or a crease in the fabric can trigger an automatic rejection.
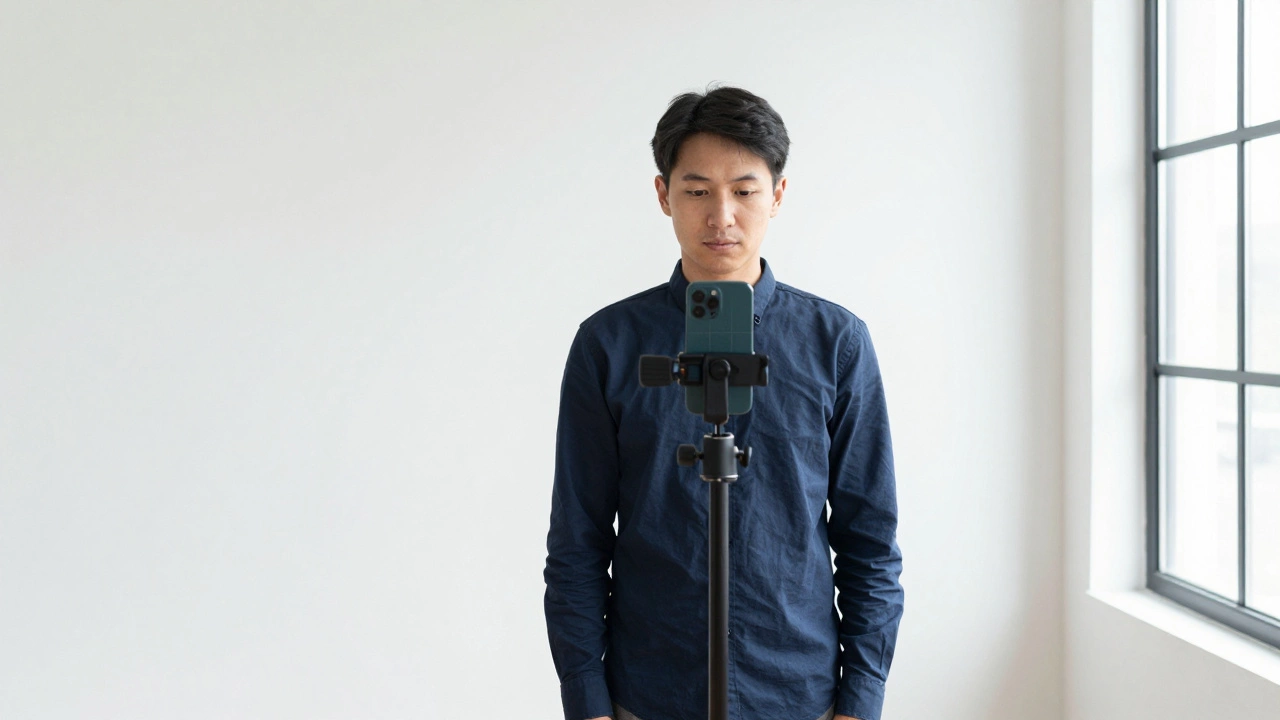
This isn’t just about the background — it’s part of a bigger system. Your passport photo requirements, a set of technical and visual standards enforced globally to ensure consistent identity verification include lighting, facial expression, head position, and even the distance between your eyes and the top of the frame. A poorly lit background can cast shadows on your face, making you look like you’re hiding something. A colored wall — even light blue or beige — breaks the rules. And yes, that means your bedroom wall, no matter how clean it looks, is probably not good enough. You need a seamless, flat surface that reflects light evenly. Many people use a white bedsheet, but if it wrinkles or has folds, it’s a fail. That’s why so many turn to passport photo at home, a cost-effective method using smartphones and simple tools to meet official standards without visiting a photo studio. With the right setup, you can get a government-approved photo for free using just your phone, a white backdrop, and natural light.
The real problem? Most online services claim to generate passport photos for $1 or $5, but they don’t check the background properly. They might crop your face right, but leave a faint gray edge or a shadow behind your head. And when you submit it, you get a rejection notice weeks later — right when you need your passport for travel. That’s why the most reliable method is still doing it yourself with clear rules in hand. You don’t need Photoshop. You don’t need a studio. You just need to understand what the system actually wants. The posts below show you exactly how to set up a white background at home, fix lighting issues with your phone, avoid common mistakes like wearing glasses or smiling too wide, and use free tools to make sure your photo passes every check. No fluff. No paid services. Just what works — based on real rejections, real fixes, and real results from people in India who’ve been through it.
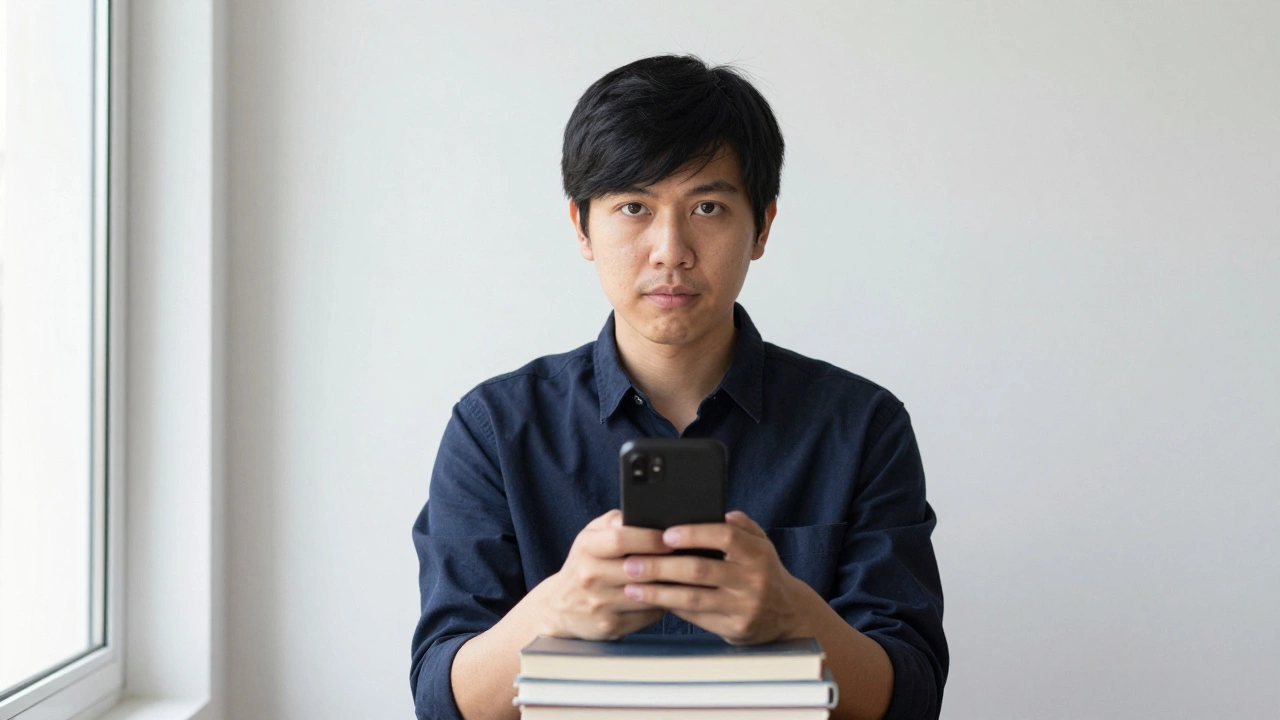
Learn how to take a passport-size photo for free at home using just your smartphone. Follow simple steps for lighting, background, and cropping to meet Indian passport requirements without paying a studio.
Learn how to turn a normal photo into a passport photo using free tools and step-by-step guidance. Follow official rules for size, background, lighting, and expression to avoid rejection.