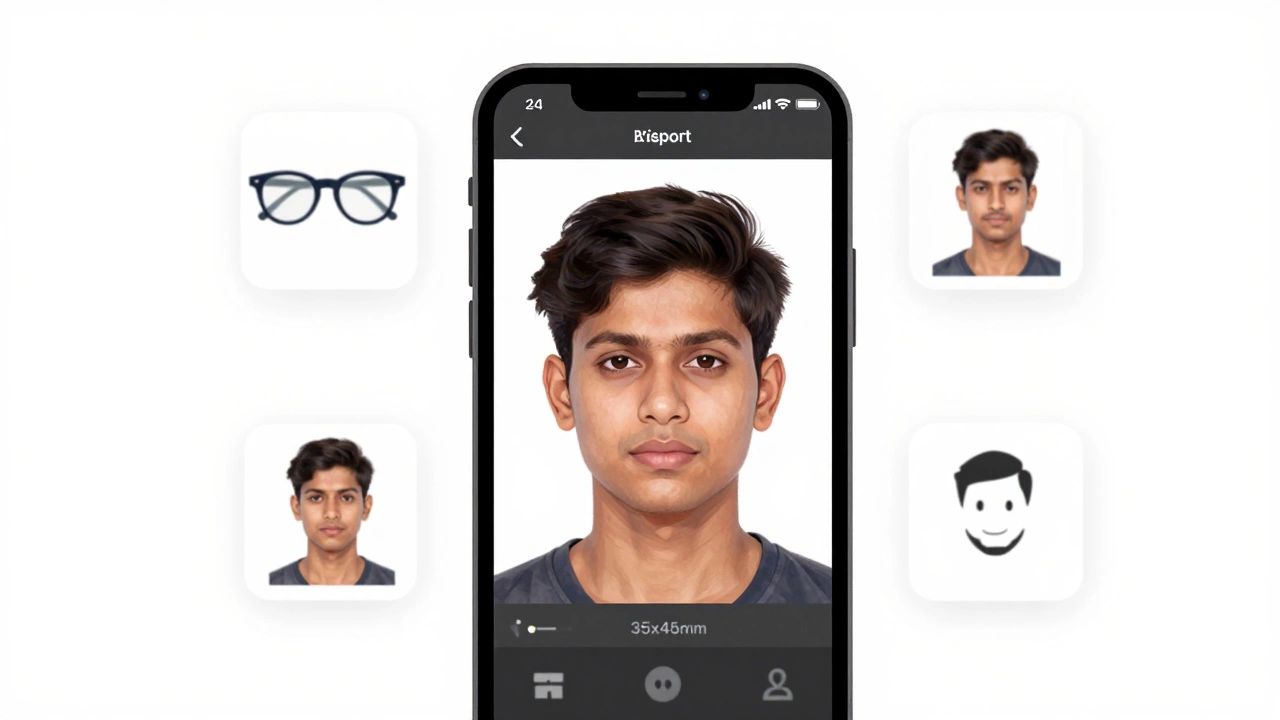
Passport Photo Size Checker
Verify if your passport photo meets the official requirements for Indian passports (35mm x 45mm). This tool checks both dimensions and aspect ratio.
Enter dimensions to check if your photo meets requirements
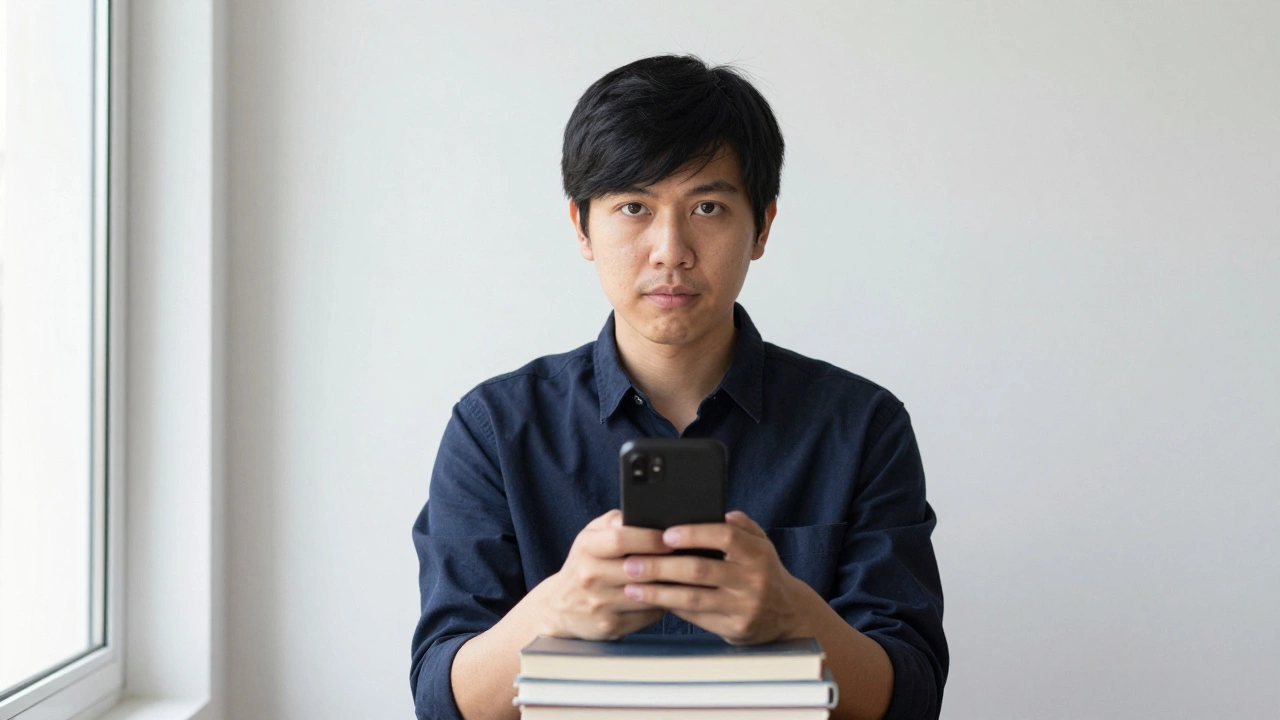
Getting a passport photo shouldn’t cost you money. If you’re in India and need a passport-sized photo for your application, you don’t need to visit a photo studio. With a smartphone, a plain wall, and a few minutes, you can take a perfect passport photo for free - and it’ll meet all the official requirements.
What Your Passport Photo Must Look Like
The Government of India follows ICAO standards for passport photos. That means your photo must be:
- 35 mm wide by 45 mm high - no more, no less
- White or off-white background - no patterns, shadows, or clutter
- Full face, front view - eyes open, looking directly at the camera
- No glasses - unless you wear them daily and have a medical certificate
- No headwear - except for religious reasons (must not cover face)
- Neutral expression - no smiling, frowning, or raised eyebrows
- Good lighting - no harsh shadows under eyes, nose, or chin
- Recent photo - taken within the last 6 months
These rules aren’t suggestions - they’re strict. If your photo doesn’t match, your passport application gets rejected. And you’ll have to start over.
How to Take a Passport Photo for Free
You don’t need a camera or studio. Your phone’s rear camera is good enough. Here’s how to do it right.
- Find a plain white wall - a blank wall in your home, a white bedsheet pinned to the wall, or even a white door works. Avoid windows or bright lights behind you - they create glare or shadows.
- Use natural light - stand near a large window during daylight. Morning light is soft and even. Don’t use flash. It washes out your face and creates harsh shadows.
- Use a tripod or stack of books - place your phone on something steady, about 1.5 meters away from you. Set it at eye level. If you don’t have a tripod, stack 2-3 thick books and rest your phone on top.
- Wear solid-colored clothes - no white shirts. White blends into the background. Choose a dark or medium color like navy, brown, or gray.
- Look straight into the lens - don’t tilt your head. Your face should fill 70-80% of the frame. Your chin should be level, eyes centered.
- Take 5-7 photos - change your position slightly each time. Move closer, then farther. Test different angles. Pick the clearest one later.
Pro tip: If you’re alone, use the timer on your camera app. Set it to 3 seconds. That gives you time to sit still and look straight ahead.
Free Apps to Crop and Edit Your Photo
Now that you’ve taken the photo, you need to crop it to the exact size: 35x45 mm. You don’t need paid software. Here are two free apps that work in India:
- Passport Photo Maker (Android) - free, no ads, and auto-detects your face. Just upload your photo, pick "Indian Passport," and it crops it perfectly. It also checks lighting and background.
- Passport Photo ID Studio (iOS) - free version works fine. Lets you change background to white, adjust brightness, and crop to ICAO specs.
Both apps let you save the photo as a JPEG and print it at home. You can also email it to yourself and upload it directly to the passport portal.
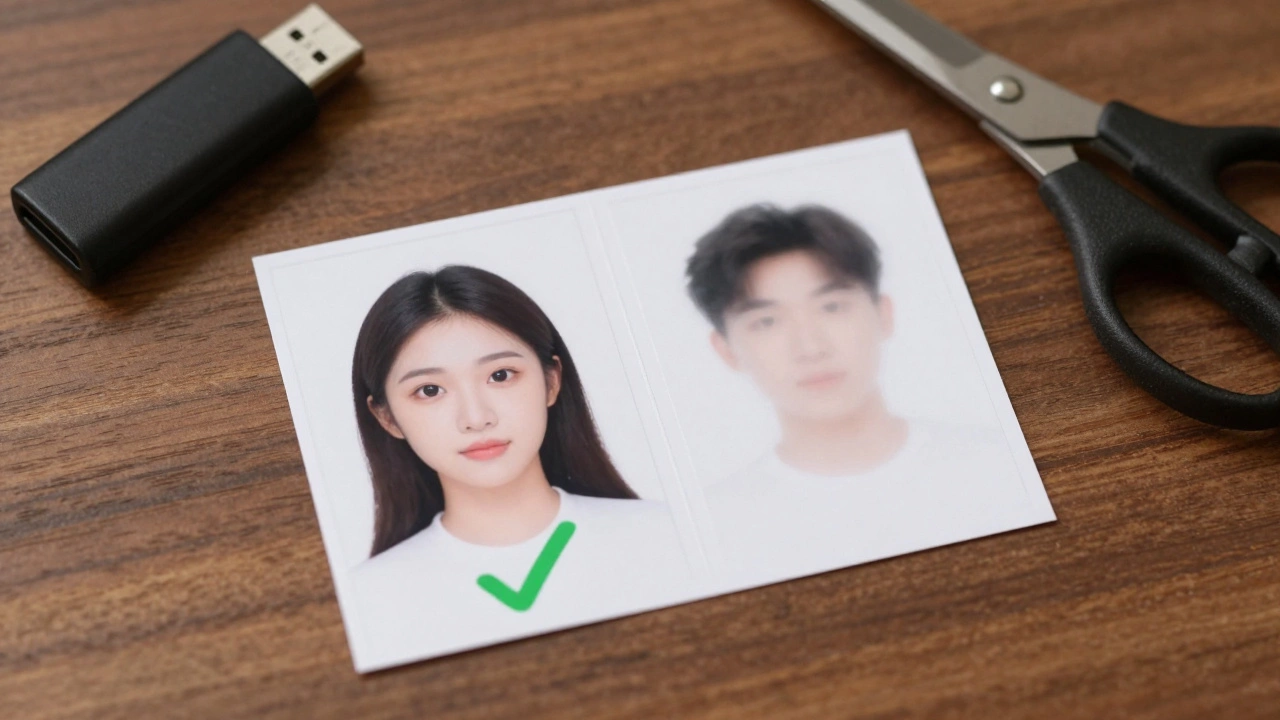
How to Print Your Photo
You don’t need to go to a print shop. Here’s how to print it yourself:
- Use a home printer - set print size to 35x45 mm. Use matte photo paper (80-100 gsm). Glossy paper reflects too much light.
- Print at a local shop - if you don’t have a printer, go to a small print kiosk. Ask for "passport size print on matte paper." They charge ₹10-15 for 2 copies. Bring the file on a USB stick.
- Print 2 copies - always print two. One for your application, one as backup. If the passport office rejects your photo, you’ll need a replacement fast.
Never use a photo from an old ID card, school photo, or social media profile. They’re too small, blurry, or poorly lit.
Common Mistakes That Get Your Photo Rejected
Here’s what goes wrong most often - and how to avoid it:
- Background isn’t pure white - gray, beige, or shadowed walls get rejected. Use a white sheet or paper behind you.
- Face too small - if your head takes up less than 70% of the frame, it’s too far away.
- Shadows under chin - if your face looks dark under the jawline, you’re in low light. Move closer to the window.
- Wearing glasses - even anti-glare lenses cause reflections. Take them off unless you have a doctor’s note.
- Smiling or showing teeth - neutral expression only. Even a slight smile can trigger rejection.
- Using a selfie - selfies taken at arm’s length distort your face. Use a tripod or fixed stand.
Why This Works Better Than a Studio
Photo studios charge ₹100-₹300 for passport photos. But here’s the truth: most of them use the same process - a plain wall, a phone, and a printer. You’re paying for convenience, not quality.
When you take it yourself:
- You control the lighting
- You can retake it until it’s perfect
- You get a digital copy for future use
- You save ₹150-₹250
Plus, if you need another photo next year - for a visa, PAN card, or Aadhaar update - you’ll already have the template.
What to Do If Your Photo Gets Rejected
If the passport office rejects your photo, don’t panic. It happens. Here’s what to do:
- Check the rejection notice - it usually says why (e.g., "background not uniform," "face too small").
- Retake the photo using the steps above - focus on the exact issue.
- Use a different app to double-check the size. Some apps auto-correct, but others don’t.
- Print on matte paper - glossy is often rejected.
- Go to a local photo shop and ask them to fix it. They’ll do it for ₹20-30.
Many people get rejected because they used a blurry photo or a selfie. Stick to the rules, and you’ll be fine.
Final Checklist Before You Submit
Before you upload or attach your photo to the passport application, run through this:
- Is the background pure white? (No shadows, no color)
- Is your face centered and filling 70-80% of the frame?
- Are your eyes open and looking straight at the camera?
- Are you wearing plain clothes (not white)?
- Are there no glasses, headgear, or jewelry?
- Is the photo in focus and not blurry?
- Is the file size under 100 KB? (Most portals require this)
- Did you print two copies?
If you answered yes to all - you’re ready.
Can I use a photo taken with a DSLR camera?
Yes, you can. But it’s not necessary. Most DSLR photos are too large and need to be resized. A smartphone photo taken with the steps above meets all requirements and is easier to edit. If you use a DSLR, make sure the background is white, the lighting is even, and the file is cropped to 35x45 mm.
Can I wear makeup in my passport photo?
Yes, light makeup is allowed. But avoid heavy foundation, glitter, or bold lipstick. The goal is to look like yourself. If your photo looks drastically different from your face in real life, it may cause issues at the passport office.
Can I take a passport photo with my child?
No. Each passport photo must be of one person only. Even for infants, the photo must show only the child’s face against a plain white background. No parents, siblings, or toys in the frame.
What if I have a beard or mustache?
You can keep your beard or mustache as long as it’s your usual look. The passport office compares your photo to your face at the time of application. If you’ve grown a beard since your last ID, that’s fine - as long as you look like yourself.
Can I use a photo from a photo booth?
Only if the booth is designed for passport photos. Most public photo booths use 2x2 inch sizes (51x51 mm) which are too big. Indian passport rules require 35x45 mm. Always check the dimensions before using a booth photo.