Most people take photos on their iPhone every day-vacations, meals, kids, pets, sunsets. But when you open those photos later, they just don’t look right. The colors are flat, the sky is washed out, or your face looks too dark. The good news? You don’t need a fancy camera or expensive software to fix this. Your iPhone already has everything you need to make photos look professional. And it’s easier than you think.
Start with the built-in Photos app
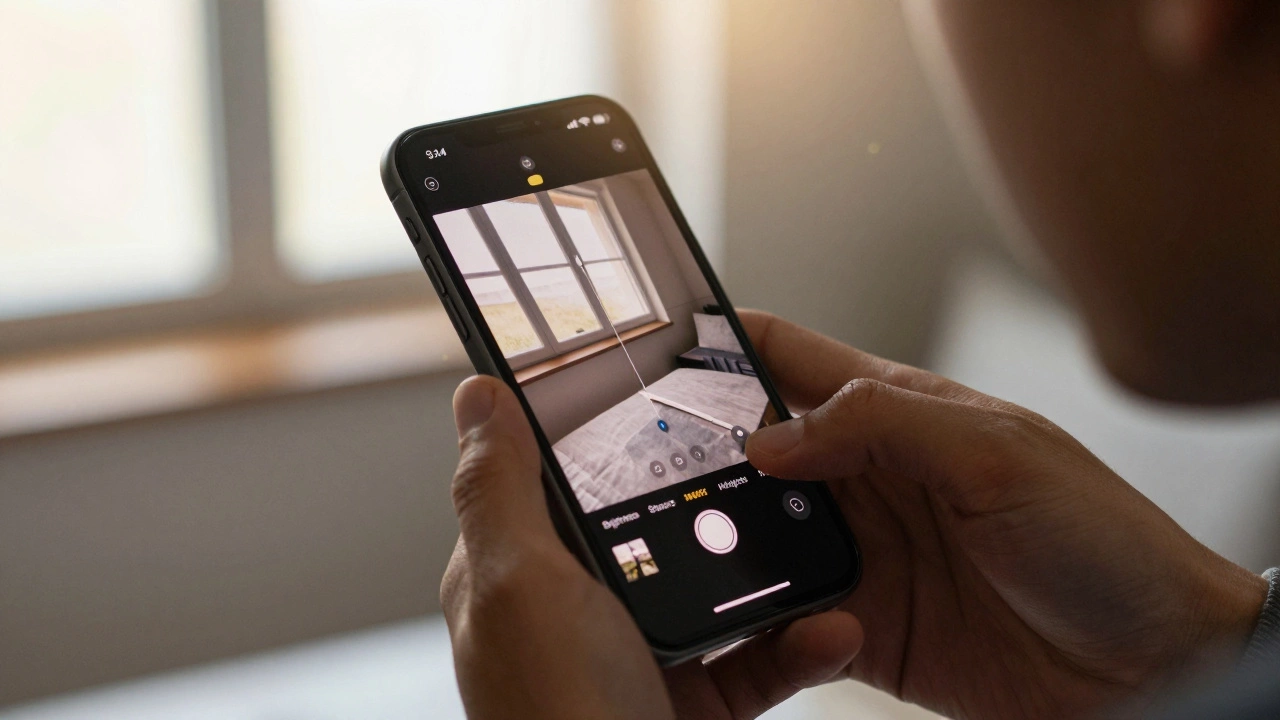
You don’t need to download anything. Open the Photos app, pick a photo, and tap Edit. You’ll see a row of tools at the bottom: Light, Color, B&W, Filters, and more. Tap Light first. This is where most photos improve instantly.
Adjust Brightness to make the whole image lighter or darker. If your subject is too dark, try Shadows-this lifts details in dark areas without blowing out the bright parts. For portraits, a small shadow boost (around +20%) brings out eye details and skin texture. Then tweak Highlights to bring back detail in skies or windows. Most people overdo this. Keep it under -15% unless you’re shooting a snowy scene.
Now go to Color. Saturation makes colors pop. But don’t crank it up to 100. A +10% to +15% boost is usually enough. Overdoing it makes skin look orange and skies look fake. Try Warmth instead. If your photo looks cold or blue (common in shade or cloudy days), add a touch of warmth (+5% to +10%). It makes food look tastier, skin look healthier, and outdoor shots feel more inviting.
Finally, use Sharpness. A +10% boost adds crispness to edges. Too much makes noise visible. Always zoom in to 100% before deciding. If you’re editing a portrait, turn down sharpness to +5%-it softens skin naturally without looking blurry.
Use Filters wisely-don’t just pick the first one
The iPhone has filters like Vivid, Dramatic, Mono, and Chrome. Most people tap one and call it done. That’s a mistake. Filters are presets, not fixes. They work only if your photo already has good lighting and composition.
Try this: Edit your photo with Light and Color first. Then preview each filter. See how Vivid boosts color but can make skin look unnatural. Dramatic adds contrast but crushes shadows. Chrome gives a cool, modern look-great for cityscapes but terrible for portraits.
Best tip: Use None after editing. You might find your manual adjustments look better than any filter. If you do use a filter, lower its intensity. Slide the filter bar down to 60-80%. That keeps the effect subtle and real.
Try third-party apps for more control
For more power, use free apps like Lightroom Mobile or Snapseed. Both are made by Adobe and Google-trusted, no ads, no paywalls for core tools.
In Lightroom Mobile, open a photo and tap Presets. Scroll down to Basic and pick Neutral or Clear. Then tweak Exposure, Contrast, and Clarity. Clarity adds mid-tone detail-great for textures like brick, fabric, or leaves. Use it at +15% to +25%. Don’t touch Dehaze unless your photo looks foggy-it can make skies look plastic.
In Snapseed, use the Healing tool to remove dust spots or stray hairs. Tap the Structure tool-it’s like Clarity but smarter. Use it at +20% for landscapes, +10% for portraits. Then go to Tune Image and adjust Shadow and Highlight like you did in Photos. Snapseed lets you adjust brightness and contrast separately, which gives you more control.
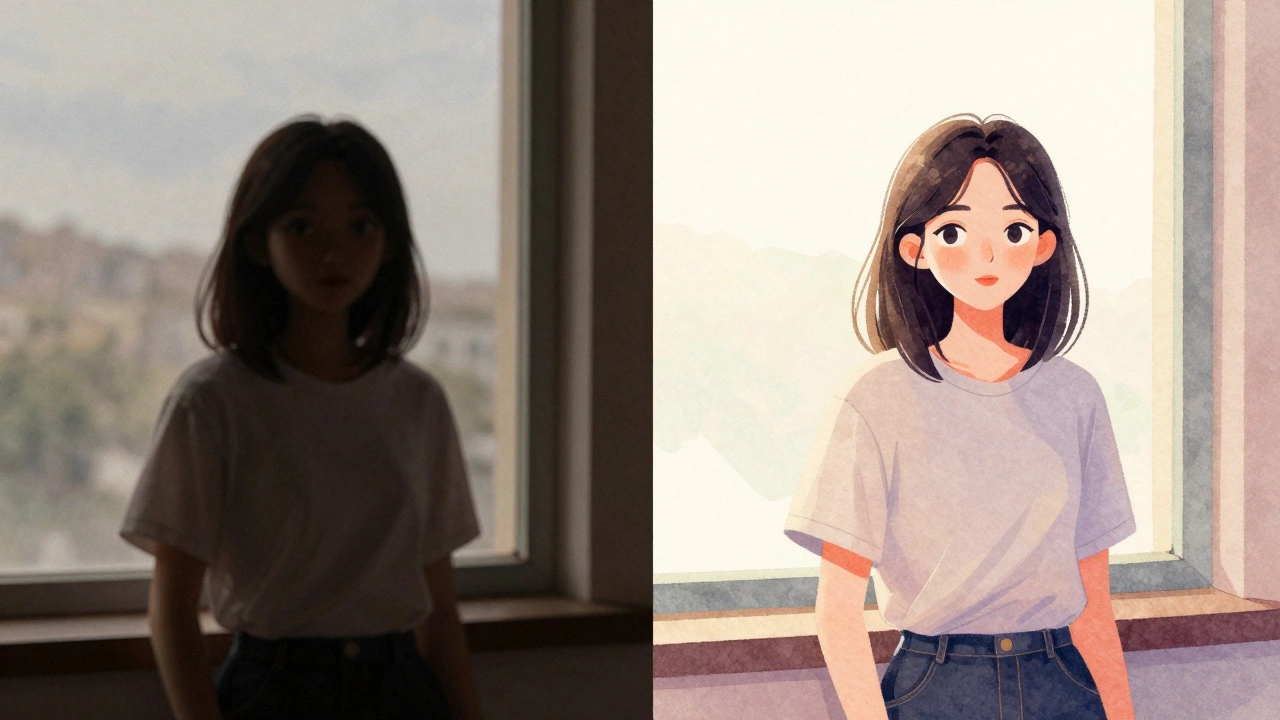
Fix portraits like a pro
Portraits are the most common photo people want to improve. The goal isn’t to make someone look different-it’s to make them look like themselves, just better.
First, use Portrait Lighting if your photo was taken in Portrait mode. Tap Edit, then tap the Lighting icon. Try Natural, Studio, or Contour. Contour adds subtle shadow under the jawline-it’s the secret to making faces look slimmer and more defined. Don’t overdo it. One tap is enough.
For skin tone, use Color > Warmth and Tint. If skin looks too yellow, lower Warmth. If it looks too pink, add a tiny bit of green with Tint (drag to the left). Most people don’t know about Tint. It’s the hidden tool for fixing unnatural skin tones.
Use the Healing tool in Snapseed to remove acne, stray hairs, or shiny spots on the nose. Tap and hold on the spot for a second. It blends it in naturally. Don’t touch the eyes or lips-those should stay sharp and real.
Save edits without losing the original
Always keep the original. When you edit in the Photos app, you’re not deleting anything. The original stays untouched. But if you export to Instagram or WhatsApp, you might accidentally save over it.
Best practice: After editing, tap Share, then Save Image. This creates a copy. Keep the original in your library. That way, if you change your mind later, you can start fresh.
Also, avoid editing the same photo 5 times. Each time you save, you lose a tiny bit of quality. Do all your edits in one session. Use layers in Lightroom or Snapseed if you want to experiment.
Common mistakes to avoid
- Over-sharpening-makes noise look like dirt
- Boosting saturation too high-makes everything look like a cartoon
- Using too many filters-looks fake and dated
- Editing in bad light-edit photos on a bright screen, not in a dark room
- Ignoring the histogram-tap the three lines in Lightroom to see brightness levels. If the graph is pushed all the way to the right, your highlights are blown out
One quick trick: If your photo looks dull, try adding a tiny bit of contrast (+10%). It’s the fastest way to make a flat photo feel alive.
What to do if your photo still looks bad
Some photos just can’t be fixed. If the lighting was terrible-like a dark room with a flash-or the subject is blurry, no app will save it. Don’t waste time. Delete it and retake it.
Next time, hold your iPhone steady. Use both hands. Tap the screen to focus on the person’s eyes. Wait for the flash to turn off if you’re indoors. Natural light near a window beats any filter.
And remember: the best photo isn’t the one with the most edits. It’s the one that feels real. People remember emotion, not perfect skin.
Can I edit RAW photos on my iPhone?
Yes, but only if you shoot in RAW mode. iPhones don’t capture RAW by default. You need an app like Lightroom Mobile or ProCamera to enable it. RAW files hold more detail, so editing them gives better results-especially for shadows and highlights. But they’re larger files, so they take up more space.
Why do my edited photos look different on other devices?
Because screens display color differently. Your iPhone screen is calibrated to show vibrant colors. A laptop or Android phone might show the same photo with duller tones. To fix this, edit on your iPhone and check the photo on another device before sharing. If it looks off, slightly reduce saturation or increase brightness by 5%.
Is it better to edit on iPhone or computer?
For quick edits, iPhone is faster and more intuitive. For serious work-like editing 50 photos for a portfolio-use a computer with Lightroom or Photoshop. But for social media, family albums, or daily posts, your iPhone is more than enough. Most professionals use their phones for 80% of their editing.
What’s the best free app for iPhone photo editing in 2026?
Lightroom Mobile is the best overall. It’s powerful, free, and doesn’t lock features behind a paywall. Snapseed is great for quick fixes and healing tools. VSCO is good if you like film-style filters, but it’s slower and has ads. Stick with Lightroom or Snapseed for reliability.
How do I make my food photos look better?
Shoot near a window with natural light. Avoid overhead lights-they cast harsh shadows. In editing, increase Warmth (+10%), boost Shadows (+15%), and add a tiny bit of Clarity (+20%). Don’t over-saturate reds or greens. Food looks best when it looks real, not like a billboard.
Final tip: Edit less, shoot better
The best photo editors aren’t the ones who use the most tools. They’re the ones who know when to put the phone down. Take the shot with good light. Frame it well. Hold steady. Then edit just enough to bring out what’s already there. That’s how you make photos that feel alive-not like they were processed in a lab.