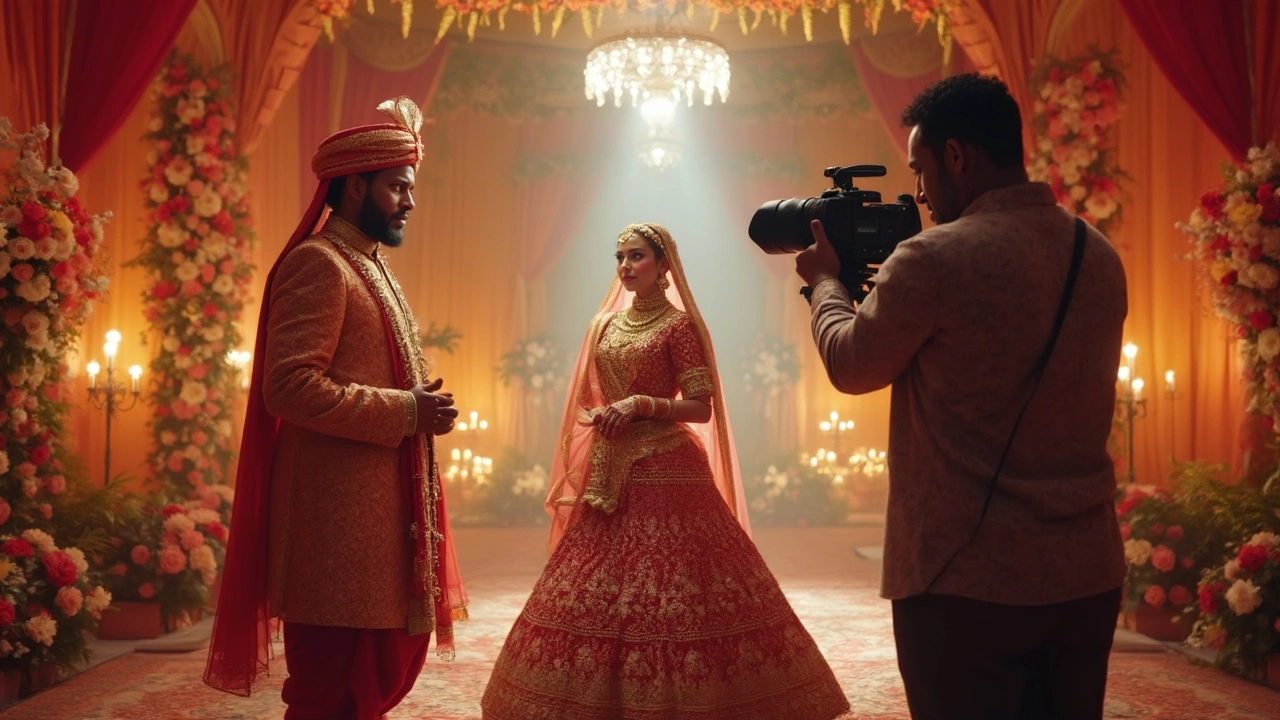
Staged Photography Tips & Ideas for Amazing Photo Sessions
If you’ve ever wondered how those picture‑perfect shots are created, the secret is often staging. Staging means arranging every element in the frame – props, lighting, background, and the subject – so they work together like a mini set. It’s not magic, just planning and a few proven tricks. Below you’ll find simple steps you can start using today, whether you work in a studio or shoot on location.
Plan Your Scene Before You Press the Shutter
Start with a clear vision. Ask yourself: what story do I want to tell? Write a one‑sentence brief, then pick a backdrop that supports it. A plain white wall works for product shots, while a textured brick wall adds character to fashion shoots. Next, gather props that echo the mood – a vintage suitcase for a travel vibe, a sleek coffee cup for a lifestyle feel. Keep the number of props low; too many can distract from the main subject.
Once you know what you need, sketch a quick layout on paper or use a phone app. Position the subject in the center or off‑center depending on the composition you want. This quick visual helps you spot gaps, avoid clutter, and decide where the light should hit.
Lighting Is the Real Game‑Changer
Good lighting can turn an ordinary setup into a professional look. For indoor staging, a softbox placed at a 45‑degree angle gives flattering, even light. If you don’t have a softbox, bounce a desk lamp off a white board to create a similar effect. Natural light works wonders too – shoot near a large window, use a sheer curtain to soften harsh sun, and add a reflector (even a white poster board) to fill shadows.
Don’t forget the background lighting. A thin strip of LED light behind a backdrop can add depth and separate the subject from the background. Experiment with color gels for a creative touch; a warm orange wash can make a cozy scene, while a cool blue adds a modern feel.
Finally, adjust your camera settings to match the light. Keep ISO low (100‑200) to avoid grain, use a medium aperture (f/5.6‑f/8) for sharpness, and set a shutter speed that freezes any movement.
With a solid plan and thoughtful lighting, your staged photos will look polished and purposeful. Try one tip today – set up a simple prop, add a softbox, and see the difference instantly. The results will speak for themselves.
Ready to level up your photography? Grab a prop, tweak your lights, and start staging today. The more you practice, the more natural the process becomes, and the better your images will look.