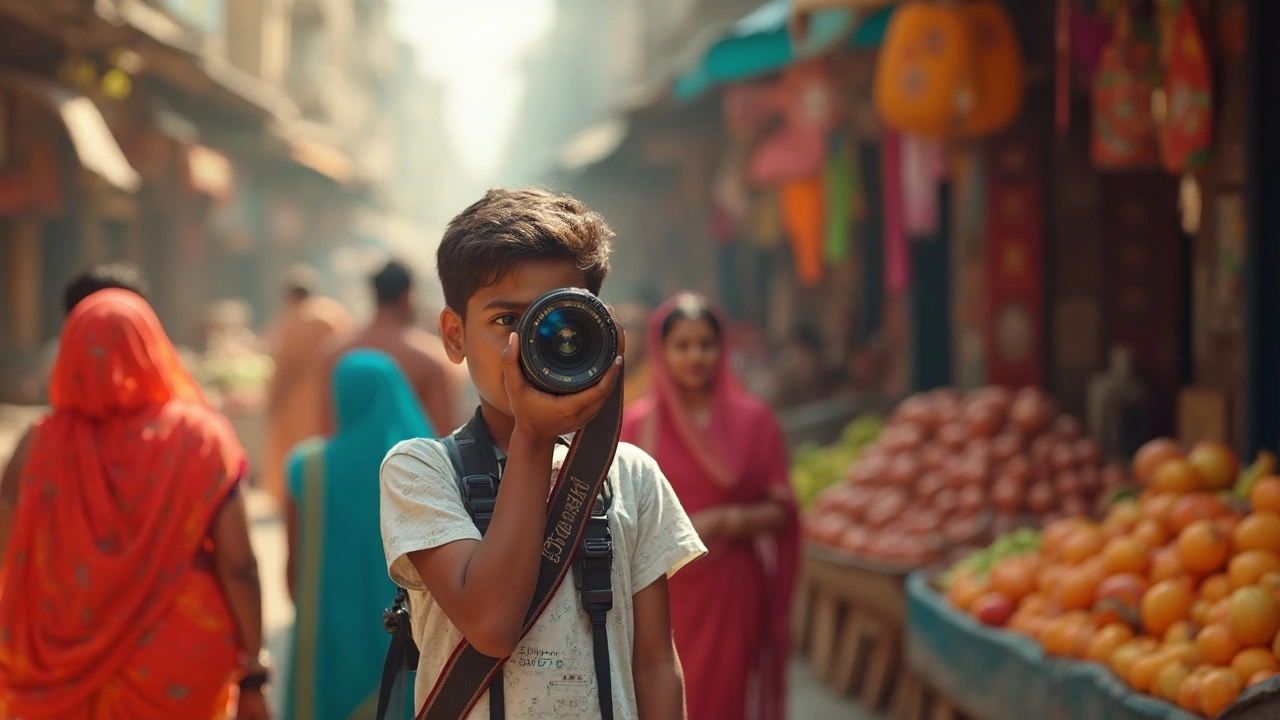
Image Clarity: Quick Ways to Get Sharper Photos and Clearer Prints
Ever look at a photo and think, “That should be clearer”? You’re not alone. Most of us struggle with blurry or dull images, whether we snap on a phone or send a file to a printer. The good news is you can fix most of these issues with a few simple habits. Below are practical steps you can start using right away.
How to Capture Clear Images
First, focus on the camera settings. Even a basic smartphone can shoot sharp pictures if you pay attention to lighting and stability. Hold the device with both hands, brace your elbows against your body, and press the shutter gently. If you have a DSLR, set the aperture to a mid‑range value (around f/5.6) to get a good depth of field without sacrificing sharpness.
Second, keep the lens clean. A smudge or fingerprint can make any photo look soft, no matter how good the sensor is. Use a microfiber cloth and a lens‑cleaning solution to wipe the glass before each shoot. It takes a few seconds but saves you from fixing a blurry result later.
Third, mind the focus point. Most cameras let you tap the screen where you want the focus. Choose a high‑contrast area on your subject—like an eye or a logo—and lock the focus before shooting. This prevents the camera from hunting for a focus line that ends up in the middle of the frame.
Finally, avoid digital zoom. Instead of cropping in‑camera, take the shot at the highest resolution and zoom later on a computer. Cropping keeps the pixel count high, which means the final image stays crisp when you enlarge it.
Keeping Clarity When Printing
Great photos deserve great prints. The biggest mistake new print‑users make is sending a low‑resolution file to the printer. Always export your image at 300 dpi (dots per inch) for standard photo sizes; this is the sweet spot for most home and professional printers.
Color accuracy matters too. Different printers use different color profiles (CMYK vs. sRGB). If you’re printing at a shop, ask for their preferred profile and convert your file accordingly. This prevents unexpected shifts that can make images look washed out.
Paper choice influences sharpness as well. Glossy papers enhance contrast and make details pop, while matte finishes reduce glare but can soften fine lines. Test both on a small batch to see which one matches the look you want.
Before you hit ‘print’, preview the file at actual size. Most editing software lets you zoom to 100 % and see how each pixel lines up. If you spot jagged edges or banding, adjust the sharpening settings gently—over‑sharpening creates halos that look artificial.
Lastly, handle printed photos with care. Fingerprints on the surface can obscure details just as much as a blurry capture. Use clean hands or gloves when moving prints, and store them in a cool, dry place to avoid moisture‑induced smudging.
Image clarity isn’t magic; it’s a series of small, repeatable actions. Clean your lens, lock focus, shoot at high resolution, and match the right file settings for printing. Follow these steps and you’ll notice a big jump in how sharp and vivid your photos look—whether they stay on a screen or get turned into a wall‑ready print.
