Home Photo Printing Made Simple
Want your favorite shots on paper without a long line at the store? You can do it yourself with a few tools and a bit of know‑how. Printing at home saves money, lets you pick the exact size you need, and gives you control over color and finish.
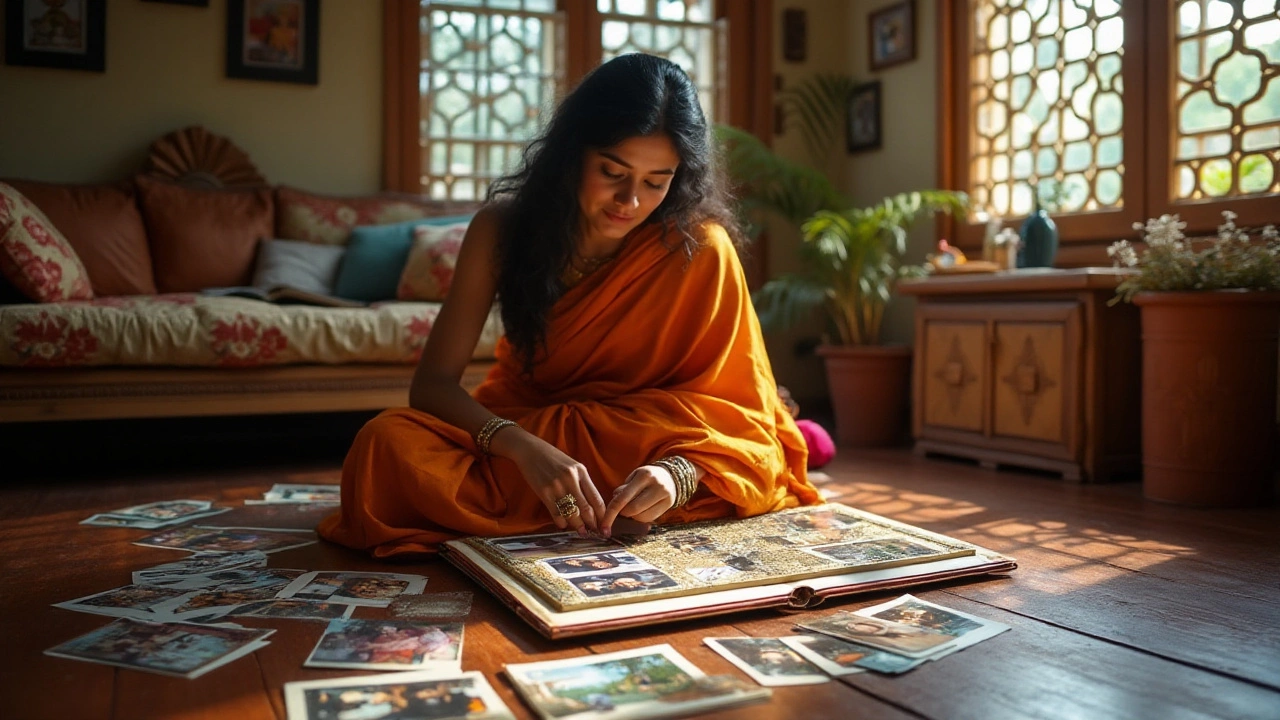
First, decide what you’ll print. Are you making a family album, a wall collage, or just a quick postcard‑size copy? The purpose determines the paper type, printer settings, and resolution you’ll need.
Tools You Need for Great Prints
A decent inkjet or dye‑sublimation printer is the backbone of home photo printing. Inkjets are affordable and handle a range of papers, while dye‑sublimation gives deeper blacks and a glossy feel. If you already have a standard office printer, upgrade the ink cartridges to photo‑grade ones for better color.
Paper matters as much as the printer. Glossy photo paper brings out vivid colors, matte reduces glare for a classic look, and semi‑gloss offers a balance. Choose a weight of at least 200 gsm – thinner sheets can jam or feel cheap.
Don’t forget calibration. Most modern printers have a built‑in color management tool; run it once a month. If you’re serious about color accuracy, download the printer’s ICC profile and apply it in your editing software before sending the file to print.
Step‑by‑Step Guide to Print from Your Phone
Printing straight from your phone is faster than moving files to a computer. Here’s a quick workflow:
- Open the photo in your favorite editing app (Snapseed, Lightroom Mobile, or even the built‑in editor). Crop to the desired aspect ratio and adjust brightness, contrast, and saturation. Keep the resolution at 300 dpi for best results.
- Save the edited image as a JPEG with the highest quality setting (usually 100%).
- Open the printer’s companion app – most brands like HP, Canon, and Epson have free apps that detect your printer over Wi‑Fi.
- Select ‘Photo Print’, choose the paper type you loaded, and set the size (4×6, 5×7, etc.).
- Hit ‘Print’ and wait a few seconds. Your photo will roll out from the tray, ready to frame.
If you prefer not to use the printer’s app, you can email the photo to the printer’s unique address (many Wi‑Fi printers support this) or use a cloud service like Google Drive and print directly from the web interface.
For occasional print jobs, online photo services are also handy. Upload the same high‑resolution file, pick the same paper type you’d use at home, and have the prints shipped to your door. This can be a backup when you run out of ink or need a larger batch.
Lastly, store your prints properly. Keep them out of direct sunlight, and store in a cool, dry place. Using archival‑grade sleeves or frames adds another layer of protection and keeps colors fresh for years.
With the right printer, paper, and a few simple steps, home photo printing becomes a routine you’ll enjoy. Start with a favorite selfie or sunset, and watch it turn into a beautiful, tangible memory.