Passport photo is a government‑issued identification image that must follow precise size, background, and facial‑visibility rules. If you’ve ever wondered why your photo got rejected, the answer is usually a simple rule that was missed. Understanding the passport photo rules saves you time, money, and a trip back to the studio.
Why the rules exist
Most countries base their photo standards on the guidelines set by the International Civil Aviation Organization (ICAO). ICAO’s goal is to make machine‑readable travel documents work worldwide, so the picture must be clear enough for facial‑recognition software. When a photo breaks any rule, border agents may not be able to verify your identity, which can lead to delays or even denied boarding.
Official guidelines you must follow
Every government publishes a list, but they all share core elements. Below is a quick summary of the most common requirements from the U.S. Department of State, the Indian Ministry of External Affairs, and the European Union passport authorities:
- Size: 2 × 2 inches (51 × 51 mm) in the U.S., 35 × 45 mm in most Asian countries.
- Background: plain white or off‑white, no shadows.
- Head position: centered, facing forward, eyes open.
- Expression: neutral, mouth closed, no smile.
- Lighting: even, no glare or red‑eye.
- Age‑specific rules: infants may have a parent’s hand visible, but the face must still be clear.
If you’re applying for a Biometric passport, the standards are even tighter because a chip stores a digital image that must match the printed one exactly.
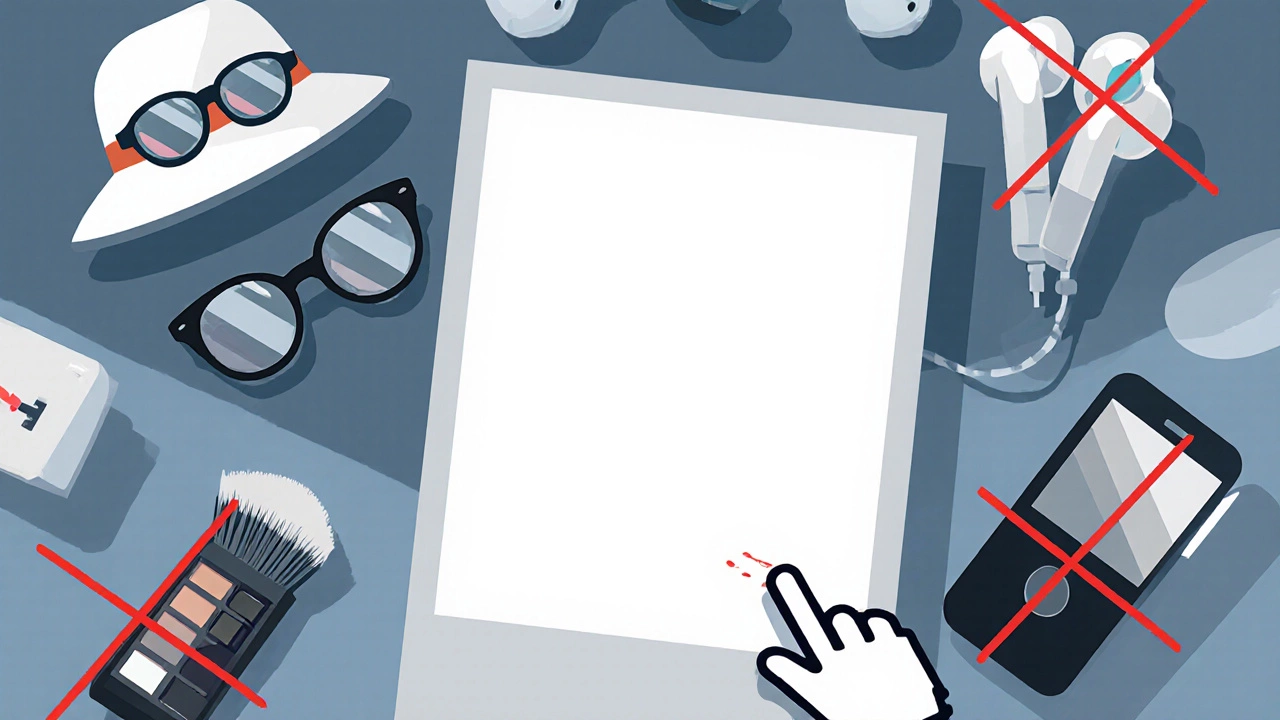
Items that are strictly prohibited
Now to the heart of the question: “What cannot be in a passport photo?” Below is a table that lists the most common disallowed elements.
| Item | Allowed? | Reason for Rejection |
|---|---|---|
| Glasses | No | Reflections or tinted lenses hide eye details |
| Headwear (except for religious reasons) | No | Obscures facial features needed for biometric matching |
| Hats, caps, beanies | No | Same as headwear |
| Earbuds or headphones | No | Blocks ear shape, which is part of facial geometry |
| Heavy makeup or facial paint | No | Alters natural skin tone and can cause glare |
| Smiling or open mouth | No | Neutral expression required for clear facial metrics |
| Shadows or dark clothing covering shoulders | No | Creates contrast that confuses background detection |
| Photos taken with flash that creates red‑eye | No | Red‑eye hides iris detail |
| Digital alterations (cropping, filters, background removal) | No | Manipulated images fail authenticity checks |
Common misconceptions
Many people think a little bit of makeup or a thin pair of glasses will be fine. In reality, even a subtle reflection can make the image unreadable for automated systems. Here are a few myths busted:
- My baby can wear a pacifier. No - any object in the mouth disqualifies the photo.
- My hair can cover my ears. No - ears must be visible for biometric comparison.
- Dark clothing is okay if the background is white. Not really - the contrast between face and clothing can create shadows that interfere with the background detection algorithm.
- I can use a selfie taken on my phone. Only if the phone camera meets the required resolution (at least 600 dpi) and you follow the lighting rules.
How to avoid rejection when using online services
Online passport‑photo generators are convenient, but they still rely on you to provide an acceptable raw image. Follow these steps:
- Use a digital camera or a high‑resolution smartphone (minimum 12 MP). Set the exposure to avoid shadows.
- Stand in front of a plain white wall. If indoors, use a soft‑box light or a daylight‑balanced lamp to eliminate harsh shadows.
- Remove all glasses, headwear, and accessories. If you wear headwear for religious reasons, check the specific country’s exemption policy.
- Ask someone to take the photo from a distance of about 1.5 m. The camera should be at eye level to prevent a tilted angle.
- Upload the raw JPG file to the online editor. Use the built‑in cropping tool to match the required dimensions; do not apply filters.
- Run the final image through a free passport‑photo validator (many government sites offer a sample checker).
Quick checklist before you submit
- ✔️ No glasses, hats, or anything covering the face.
- ✔️ Plain white background, no shadows.
- ✔️ Neutral expression, mouth closed.
- ✔️ Full head visible, ears uncovered.
- ✔️ Photo size matches the target country’s specification.
- ✔️ No digital retouching beyond basic brightness/contrast.
Frequently Asked Questions
Can I wear glasses in my passport photo?
No. Even non‑prescription glasses can cause reflections or hide eye detail, which biometric scanners need. Remove them completely.
What about religious headwear?
Most countries allow headwear for genuine religious reasons, but the face must remain fully visible from the bottom of the chin to the top of the forehead. Check the specific embassy’s list of acceptable items.
Do I need a professional studio for a passport photo?
Not necessarily. A phone with a good camera and a plain wall can produce an acceptable image if you follow the rules. Many online services let you upload a DIY photo and then validate it.
Can I use a photo taken with flash?
Flash is allowed as long as it doesn’t create red‑eye or harsh shadows. Use diffused lighting or a soft‑box to soften the light.
How long is a passport photo valid?
Most countries require a new photo if you’ve changed your appearance significantly (e.g., weight change, facial hair, aging) after five years. Some issue a new photo every ten years for adults.
Following these guidelines will dramatically cut down the chance of a rejected submission, whether you go to a local studio or upload a DIY shot through an online portal. Remember, the goal is simple: a clear, unobstructed view of your face against a plain backdrop. Stick to the rules, and your passport photo will sail through the verification process without a hitch.