Getting rejected for a passport application because of a bad photo is frustrating. It happens more often than you think. The good news? You don't need to pay a professional photographer or visit a studio. With a smartphone and some natural light, you can take a compliant passport photo at home for free. This guide walks you through the exact steps to ensure your photo meets government standards on the first try.
Gather Your Equipment and Setup
You don’t need expensive gear. Most modern smartphones have cameras capable of producing high-resolution images suitable for official documents. However, preparation is key. Here’s what you need:
- Smartphone camera with at least 8-megapixel resolution (most phones from the last 5 years qualify).
- A plain white or off-white wall as your background. Avoid textured walls, patterns, or shadows.
- Natural daylight. Position yourself near a window but avoid direct sunlight that creates harsh shadows.
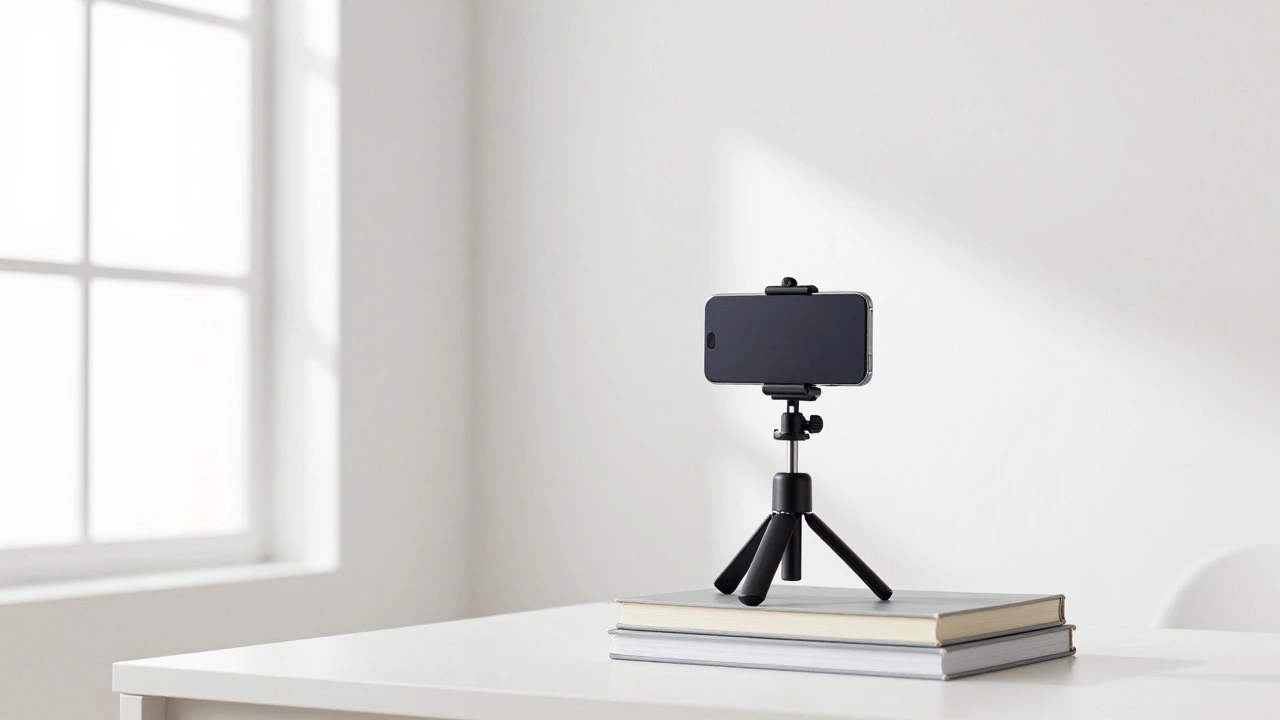
- A tripod or a stable surface to place your phone. Holding the camera yourself often results in blur or awkward angles.
- A friend or family member to take the picture, or use a timer if shooting alone.
If you’re working alone, set up your phone on a stack of books or a dedicated phone stand. Ensure the lens is at eye level. Tilting the camera up or down distorts facial features, which can lead to rejection.
Dress Code and Appearance Guidelines
Your appearance matters just as much as the technical setup. Governments have strict rules about how you should look in your photo. Follow these guidelines to avoid common mistakes:
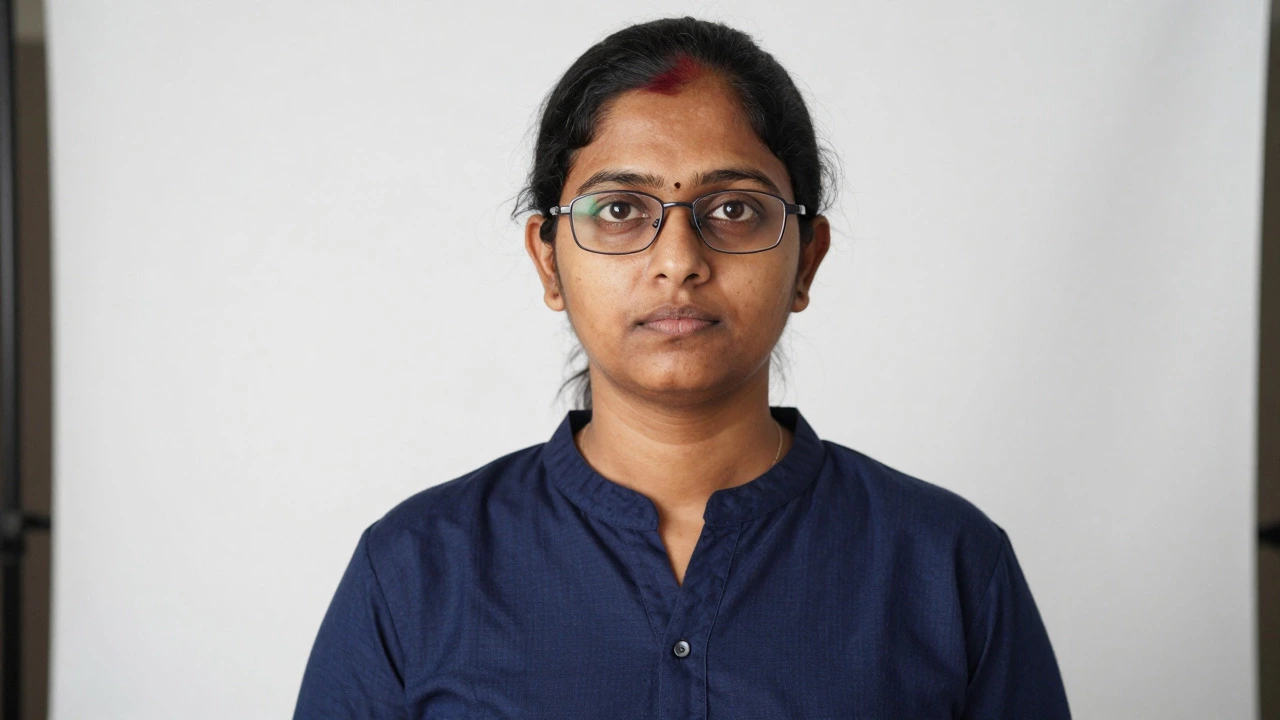
- Plain clothing: Wear everyday clothes. Avoid uniforms, camouflage, or clothing that blends into the white background. Dark colors work best against a white backdrop.
- No hats or head coverings: Unless required for religious reasons, remove all headwear. If wearing a religious head covering, ensure your full face is visible from chin to forehead.
- Glasses: Many countries now prohibit glasses in passport photos due to glare issues. Remove them unless medically necessary, and even then, check specific country rules.
- Neutral expression: Keep your mouth closed and eyes open. No smiling, frowning, or raising eyebrows.
- Hair: Make sure your hair doesn’t cover your eyes or forehead. Tie back long hair if needed.
These rules apply to most major passports, including those from the USA, UK, India, and EU nations. Always double-check your country’s specific requirements before taking the shot.
Lighting and Background Techniques
Lighting is the biggest challenge when shooting at home. Poor lighting causes shadows under the eyes or uneven exposure across the face. Here’s how to get it right:
Stand facing a large window during the day. The window acts as a softbox, diffusing light evenly across your face. Avoid standing directly in the sun, which creates hard shadows. If your room is dark, use two lamps placed at 45-degree angles to your face, pointing toward the wall behind you to bounce light softly onto your face.
The background must be uniformly colored. White is standard for most countries. Hang a white sheet against a wall if your paint isn’t pure white. Stand about two feet away from the background to prevent your shadow from appearing on it. This distance also helps separate you visually from the wall, making cropping easier later.
Capturing the Perfect Shot
Now it’s time to take the photo. Follow these steps carefully:
- Position your phone so the lens is at eye level. Use a tripod or steady surface.
- Ensure your entire head and shoulders are visible in the frame. Leave extra space above your head and below your shoulders for cropping.
- Look directly at the camera lens, not at the screen.
- Keep your shoulders square to the camera. Don’t tilt your head.
- Take multiple shots. Change slightly between each one-adjust your posture, blink rate, or lighting angle.
Review each photo immediately. Check for red-eye, blurry areas, or distracting elements in the background. Delete any imperfect shots. Aim for clarity and consistency.
Cropping and Resizing Your Photo
Once you have a clear image, you’ll need to crop and resize it to meet official dimensions. Different countries require different sizes:
| Country | Size (mm) | Pixel Size (300 DPI) |
|---|---|---|
| USA | 51 x 51 | 600 x 600 |
| UK | 35 x 45 | 413 x 531 |
| India | 35 x 45 | 413 x 531 |
| Canada | 50 x 70 | 590 x 826 |
Use free online tools like Canva, Photoshop Express, or dedicated passport photo apps to crop your image. These platforms often provide templates for various countries. Upload your photo, select the correct template, and adjust the crop box to center your face properly. Ensure your eyes are aligned horizontally within the frame.
After cropping, save the file in JPEG format with high quality settings. Most systems accept files between 10KB and 2MB. Compress if necessary using free online compressors without losing detail.
Printing Your Passport Photo
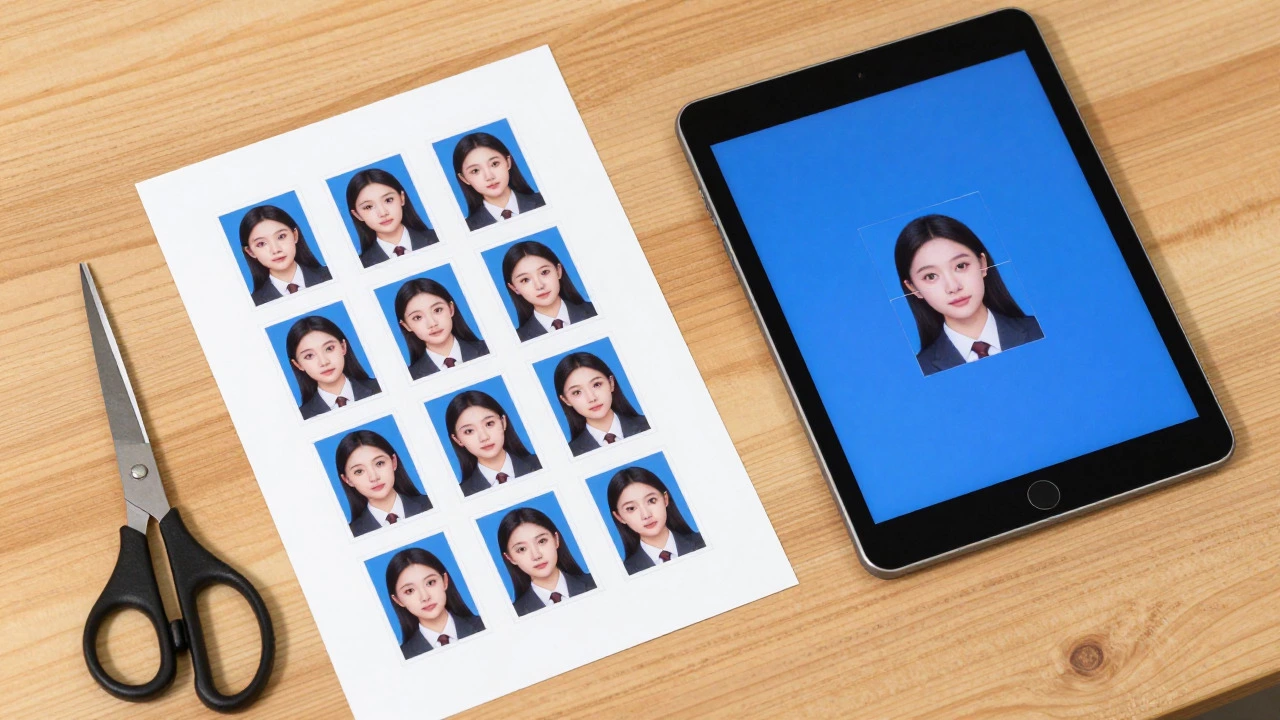
If you need physical copies, printing at home is possible but tricky. Standard inkjet printers may not produce the required color accuracy or paper quality. For best results:
- Use glossy photo paper designed for inkjet printers.
- Print at actual size (no scaling). Set printer preferences to “High Quality” or “Best Photo.”
- Allow prints to dry completely before cutting.
- Use sharp scissors or a paper cutter to trim along the edges precisely.
Alternatively, many pharmacies and local print shops offer affordable passport photo printing services. Bring your digital file on a USB drive or email it to them. They usually charge less than studios and guarantee compliance.
Verifying Compliance Before Submission
Before submitting your photo, run a final check. Compare your cropped image against official guidelines from your country’s passport agency. Look for:
- Correct dimensions and aspect ratio.
- Even lighting with no shadows.
- Full face visibility with neutral expression.
- No reflections on glasses (if allowed).
- Background color matching specifications.
Some governments offer online validation tools where you can upload your photo for automated checking. Use these if available-they save time and reduce rejection risk.
Troubleshooting Common Issues
Even with careful planning, problems arise. Here’s how to fix them:
- Shadow on face: Move closer to the light source or add another light on the opposite side.
- Red-eye effect: Enable red-eye reduction mode on your phone or retake the photo with better ambient light.
- Blurry image: Stabilize your phone better or ask someone else to hold it.
- Wrong background color: Replace the wall covering or move farther from the wall to minimize shadow bleed.
- Incorrect proportions: Recrop using an official template rather than guessing measurements.
Don’t rush. Take your time to perfect each step. A small mistake now means delays later.
Can I use a selfie for my passport photo?
Technically yes, but only if taken with proper technique. Selfies often suffer from distortion due to wide-angle lenses and hand-held instability. Use a timer or remote shutter instead. Ensure the camera is at eye level and your arm is fully extended to minimize perspective warping.
What if my passport photo gets rejected?
Rejections typically cite specific issues like incorrect size, poor lighting, or non-compliant attire. Review the feedback, correct the problem, and resubmit. Some agencies allow digital resubmission; others require new physical copies. Act quickly to avoid processing delays.
Do I need professional editing software?
No. Free online editors like Canva, Pixlr, or GIMP handle basic cropping and resizing effectively. Professional software adds unnecessary complexity for simple tasks. Stick to user-friendly tools with pre-built passport templates.
How far should I stand from the background?
At least two feet (60 cm) away. This prevents your shadow from casting onto the wall and ensures clean separation for cropping. Too close causes vignetting or uneven lighting around your silhouette.
Is natural light always better than artificial?
Generally yes. Natural daylight provides balanced color temperature and soft diffusion. Artificial lights vary widely in warmth and intensity. If using bulbs, choose daylight-balanced LEDs (5000K-5500K) and diffuse them with white sheets or lampshades.