Passport Photo Validator
Check if your photo meets official 2x2 inch requirements before submission
Getting a passport photo that meets official requirements can feel like a hassle-especially when you’re on a tight schedule. But here’s the truth: you don’t need to pay $20 at a photo booth or book an appointment just to get a 2x2 inch photo. Your iPhone can do it for free, right now, in under 5 minutes. No apps to download, no subscriptions, no watermarks. Just your camera roll and the built-in Photos app.
Why 2x2 inches matters for passport photos
The U.S. Department of State, Canadian Passport Program, and many other countries require passport photos to be exactly 2 inches by 2 inches (51mm x 51mm). That’s not a suggestion-it’s a rule. If your photo is even slightly off-say, 2.1 inches wide or the head size is too big-you’ll get it rejected. No second chances. No refunds. No exceptions.
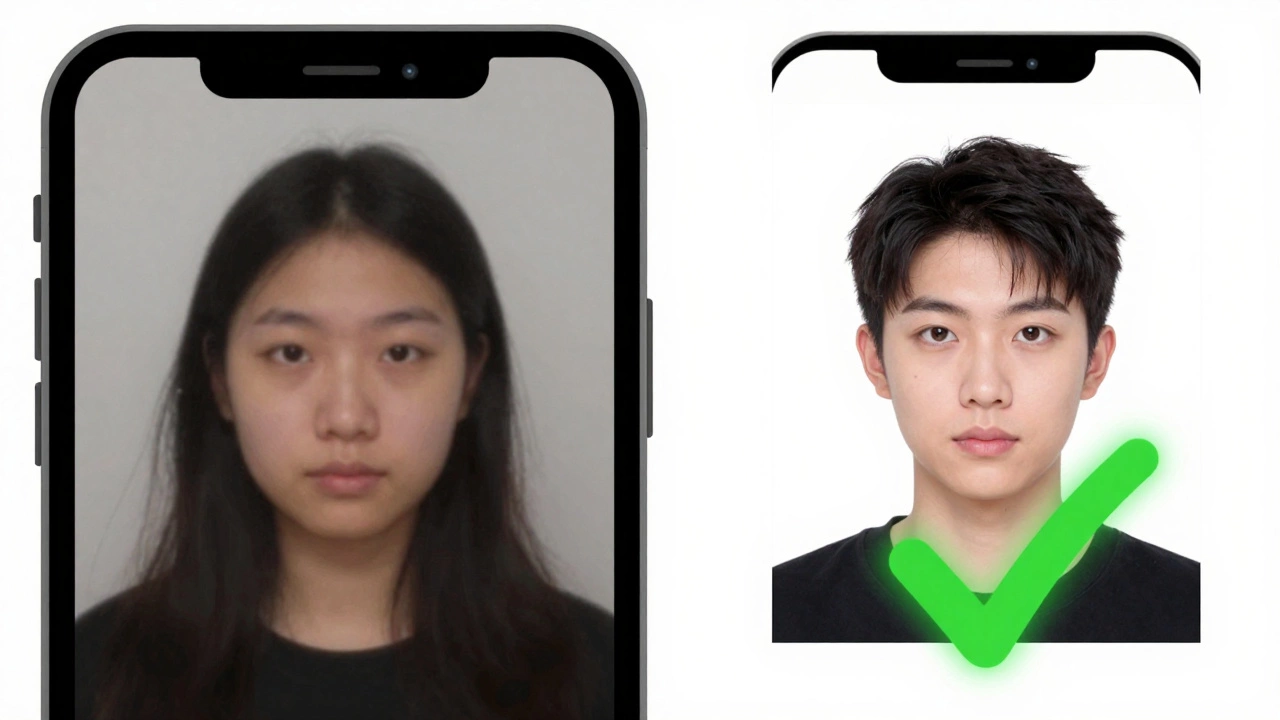
Head size is the most common mistake. Your face must take up 50% to 70% of the photo’s total height, measured from the bottom of your chin to the top of your head. Your eyes should be positioned between the top third and middle of the photo. Backgrounds must be plain white or off-white. No shadows, no patterns, no smiles with teeth showing.
Most people try to print a regular selfie and hope it works. It doesn’t. That’s why cropping correctly matters more than taking the photo.
Step-by-step: How to crop your photo to 2x2 on iPhone
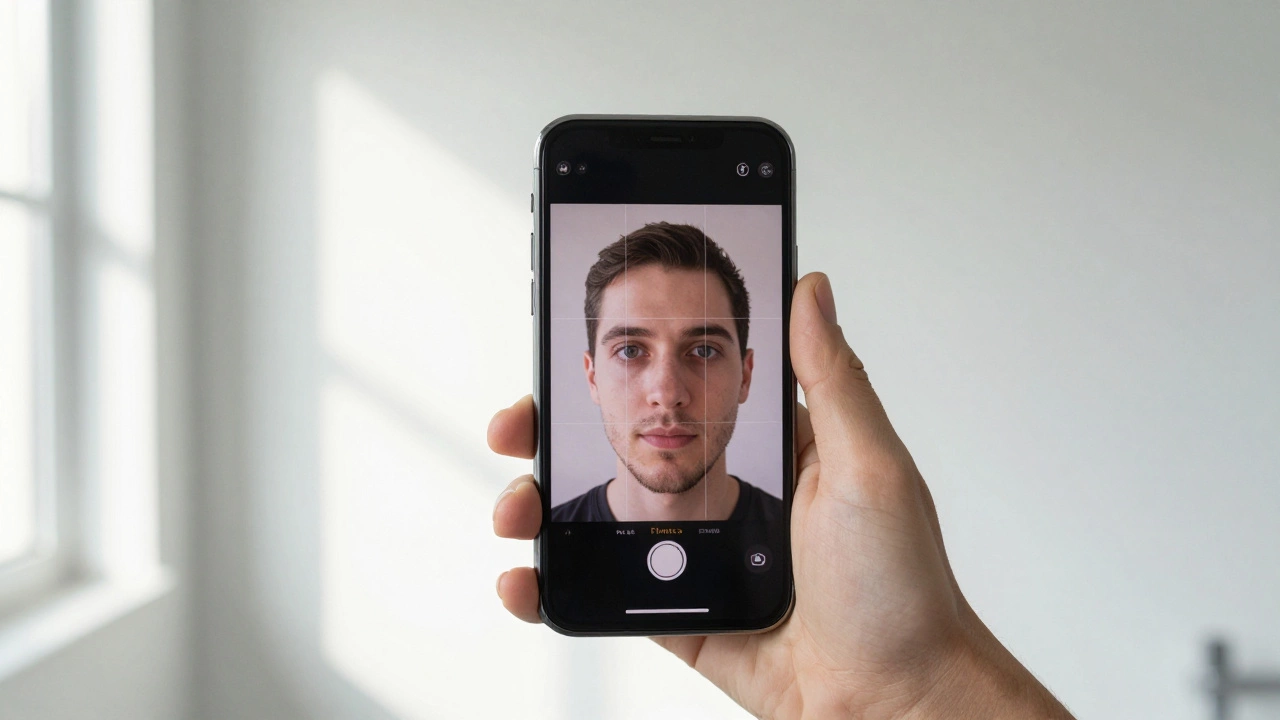
Start with a good photo. Stand in front of a plain white wall, preferably near a window for soft natural light. Take the picture with your iPhone’s rear camera-front cameras often distort facial proportions. Hold the phone at eye level. Look straight ahead. No hats, no glasses (unless medically required), no headphones.
Once you have your photo:
- Open the Photos app on your iPhone.
- Find the photo you want to crop and tap to open it.
- Tap Edit in the top-right corner.
- Tap the Crop button (square icon with arrows) at the bottom.
- Tap the aspect ratio button (small icon with overlapping rectangles) next to the crop tool.
- Select Custom from the list.
- Enter 2 for width and 2 for height. Tap Done.
- Drag and zoom the frame so your face fits perfectly inside the 2x2 box. Make sure your chin is at the bottom edge and the top of your head is near the top edge.
- Tap Done to save the cropped version.
That’s it. Your photo is now exactly 2x2 inches. You can check the dimensions later by tapping the photo, then tapping the Share button and selecting Copy to Files. Open Files, find the photo, tap the i icon, and you’ll see the exact pixel dimensions: 600x600 pixels.
What to do if your photo gets rejected
Even if you follow these steps, your photo might still get rejected. Here’s why-and how to fix it:
- Head too small or too big: Reopen the crop tool. Zoom in slightly so your head fills 60% of the frame. If your shoulders are visible, crop tighter.
- Background isn’t white enough: Take a new photo against a cleaner wall. Avoid shadows cast by your body or objects behind you.
- Photo is blurry: Use the rear camera. Tap to focus on your face before shooting. Hold steady or use a wall for support.
- Lighting is uneven: Avoid direct sunlight or overhead lights. Natural daylight from a window is best.
One common error: people crop the photo correctly but forget to check the resolution. For digital submission, 600x600 pixels is the minimum. For printing, 300 DPI is standard. Your iPhone’s camera captures way more than that, so you’re safe as long as you don’t stretch or compress the image after cropping.
Don’t use third-party apps-here’s why
You’ll see dozens of apps in the App Store promising to make passport photos for you. Some cost money. Others show ads. Many add watermarks. A few even steal your data.
Apps like Passport Photo Maker, ID Photo Editor, or Passport Photo Booth often lock features behind paywalls. They might give you a 2x2 crop-but then force you to pay $1.99 to remove a logo, or to download the file in the right format.
Worse, some apps store your photo on their servers. That’s risky if you’re submitting a photo for official government use. Your face, your ID details, your name-all stored on a random server in another country.
Stick with the Photos app. It’s built into your iPhone. It doesn’t upload anything. It doesn’t ask for permissions. It doesn’t track you. And it’s free.
How to use your cropped photo
Once you’ve cropped your photo to 2x2 inches:
- For online applications: Upload the photo directly from your Photos app. Most government portals (like DS-11 for U.S. passports) accept JPEG files under 10MB. Your iPhone’s version will be fine.
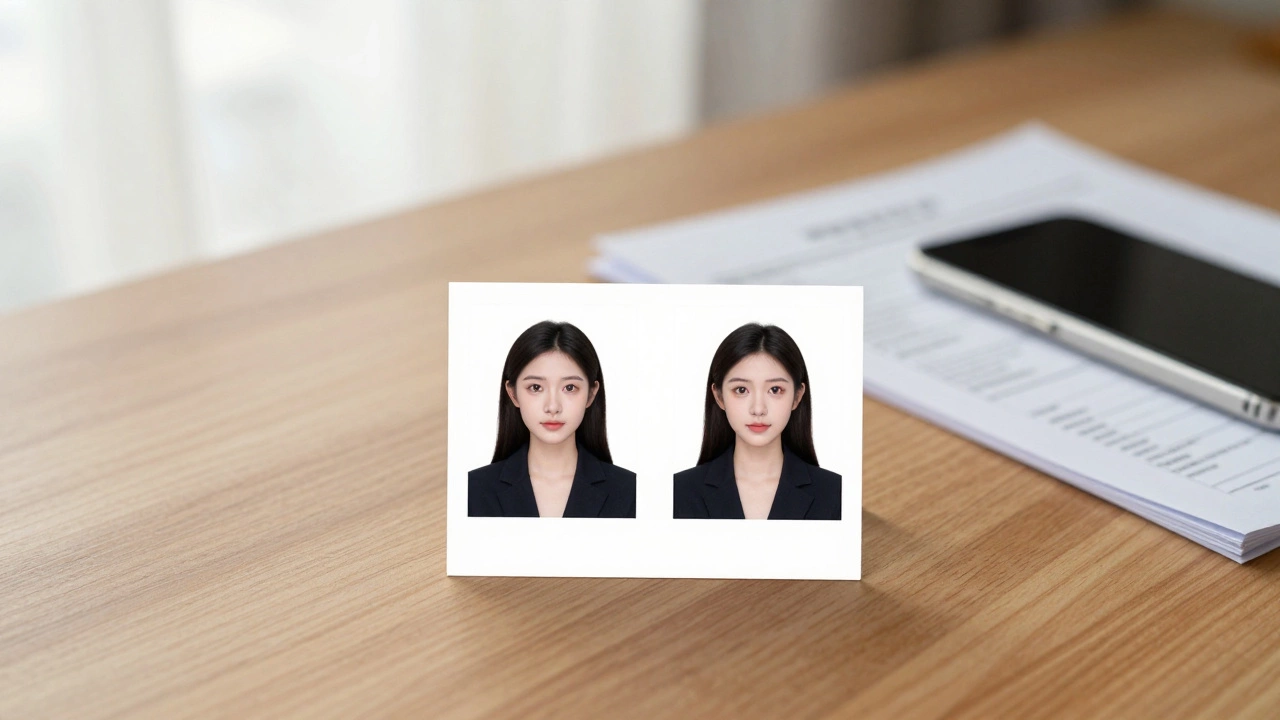
- For printing: Go to any local print shop-Staples, Walgreens, or even a small shop in your neighborhood. Tell them you need a 2x2 inch print. Most will print it for under ₹50 (less than $0.60). Or print it yourself using AirPrint.
- For digital submission: Double-check the file size. If the system says “maximum 240KB,” compress it using the Share > Save to Files option, then open it in Files and tap the Share button again. Choose Reduce File Size.
Pro tip: Always keep a backup copy of your cropped photo in iCloud or Google Photos. You’ll need it again in 10 years when you renew your passport.
What countries accept iPhone-made passport photos?
Most countries that require 2x2 inch photos accept photos taken and cropped on smartphones, including:
- United States
- Canada
- United Kingdom
- Australia
- Germany
- Japan
- India
- France
India’s passport office explicitly allows digital photos taken with smartphones, as long as they meet the size, lighting, and background rules. The same goes for the U.S. Department of State’s official guidelines. You’re not breaking any rules-you’re using the tools you already have.
Common mistakes to avoid
Even experienced users mess this up. Here’s what not to do:
- Don’t crop using third-party editors like Canva or Photoshop Express-they often change resolution or add hidden metadata.
- Don’t use a selfie taken in a mirror-the angle distorts your face.
- Don’t crop after applying filters-filters can alter skin tone and contrast, causing rejection.
- Don’t use a photo taken with flash-it creates harsh shadows and shiny skin.
- Don’t submit a photo where your eyes are closed or blinking-even one blink can get you rejected.
If you’re unsure, test your photo before submitting. Open it on your computer, zoom to 100%, and check if your face looks natural. If it looks like a cartoon or a distorted selfie, retake it.
Final checklist before you submit
Before you hit upload or print:
- Photo size: 2x2 inches (51x51mm)
- Resolution: 600x600 pixels minimum
- Background: Pure white or off-white, no shadows
- Face: Centered, full face visible, eyes open, neutral expression
- Head size: 50-70% of photo height
- No glasses, hats, or headphones
- No editing filters or enhancements
- File format: JPEG or PNG
If all these boxes are checked, your photo will pass. No exceptions. No delays. No extra fees.
Can I use a photo taken with the front camera on my iPhone?
It’s not recommended. Front cameras on iPhones use software to flip and enhance the image, which can distort facial proportions. Passport authorities require an accurate representation of your face. Always use the rear camera for passport photos.
Do I need to print the photo or can I submit it digitally?
It depends on the application. For online forms like U.S. DS-11 or Indian passport renewal, digital uploads are accepted. For in-person applications, you’ll need a printed copy. Either way, the photo must be 2x2 inches and meet all requirements.
Is a white background mandatory?
Yes. Most countries require a plain white or off-white background. No patterns, no shadows, no blurred backgrounds. Even a slight gray or cream tint can be rejected if it’s not neutral. Use a plain white wall or a white sheet taped to a wall.
Can I wear glasses in my passport photo?
Only if you normally wear them for medical reasons. Even then, they must not reflect light, and your eyes must be fully visible. Most people are better off removing them for the photo to avoid rejection.
What if my photo is rejected after I’ve already paid for my passport?
If your photo is rejected during processing, your application will be delayed until you submit a new one. You won’t get a refund, but you won’t have to pay again unless you’re resubmitting the entire application. Always double-check your photo before uploading.
Next steps
Open your Photos app right now. Find a recent photo of yourself against a plain wall. Crop it to 2x2 using the steps above. Save it. Then try uploading it to your passport application portal. If it works, you’ve saved time, money, and stress. If it doesn’t, retake the photo with better lighting and try again. It takes less than 10 minutes. And it’s completely free.