Passport Photo Compliance Checker
Step 1: Photo Setup & Background
Verify your photo setup meets the basic requirements:
Compliance Score
💡 Pro Tips
- Use a tripod with timer for steady shots
- Lower exposure slightly to keep background pure white
- Take multiple shots from slight angle variations
- Use dedicated apps for precise cropping
Staring at the "Photo Required" section of your visa application can feel like hitting a wall. You need a specific size, a plain background, and perfect lighting. The thought of rushing to a pharmacy or paying a professional photographer just for one tiny square is frustrating. But here is the good news: you likely have a high-end camera in your pocket right now. Your iPhone is a smartphone capable of capturing high-resolution images suitable for official documents when used correctly. With the right technique, you can take a compliant passport photo yourself, save money, and avoid the hassle of store lines.
Why Your iPhone Is Actually Better Than Most Booth Cameras
Most people assume that because it's a phone, the quality isn't "official" enough. That’s a myth. Modern iPhones, especially models from the iPhone 12 onwards, feature sensors and computational photography that rival entry-level DSLRs. The key difference isn't the sensor; it's the control. In a photo booth, you’re stuck with their lighting and their background. With an iPhone, you control every variable.
The main advantage is resolution. Passport offices usually require a digital file of at least 600x600 pixels for online submissions, or a 2x2 inch physical print. An iPhone takes photos in millions of pixels. This means you have plenty of room to crop and adjust without losing clarity. The challenge isn't capability; it's following the strict rules set by government agencies like the US State Department or the UK Home Office.
The Non-Negotiable Rules Before You Snap
Before you even pick up your phone, you need to understand what makes a photo rejectable. Governments are notoriously strict. If your photo gets rejected, you’ll have to start over, which costs time and money. Here are the universal standards that apply to most countries, including the US, UK, Canada, and India.
- Background: Must be plain white or off-white. No patterns, no shadows, no furniture visible.
- Expression: Neutral expression. Mouth closed, eyes open. No smiling, no frowning.
- Lighting: Even lighting on both sides of the face. No harsh shadows under the eyes or nose.
- Glasses: Generally prohibited now. Even if allowed, no glare. Best to leave them off.
- Headwear: Only for religious reasons, and it must not obscure the face.
- Size: Usually 2x2 inches (51x51mm) for the US, or 35x45mm for many other countries.
If you skip any of these, the automated systems used by embassies will flag your application immediately. So, let’s set up your environment to meet these criteria.
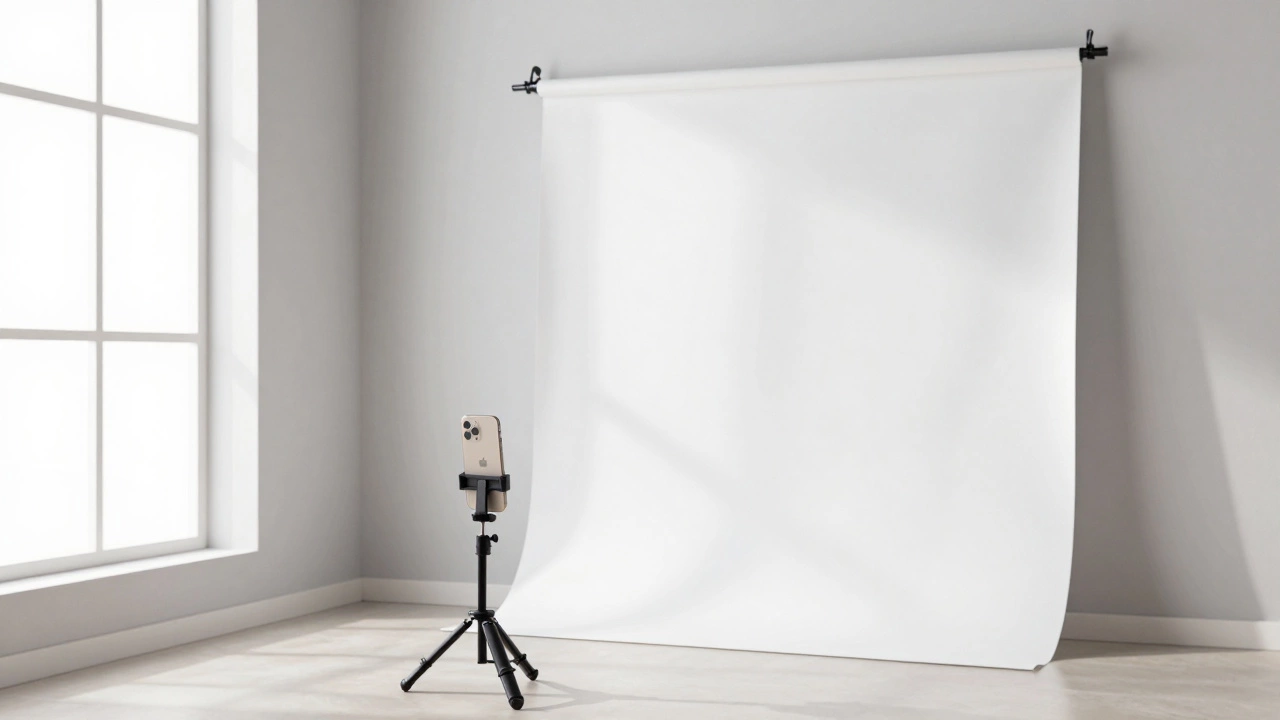
Setting Up the Perfect Shot at Home
You don’t need a studio. You need a wall and a window. Find a blank wall painted white or light beige. If you don’t have a white wall, hang a large white sheet. Make sure it’s smooth-wrinkles create shadows that look like patterns.
Lighting is where most DIY attempts fail. Avoid overhead lights; they create raccoon-eye shadows. Instead, stand facing a large window during the day. Natural daylight is soft and even. Do not use the flash on your iPhone. Flash creates harsh highlights on the forehead and deep shadows behind the head.
Position your subject about three feet away from the wall. This prevents the shadow of the person from falling onto the background. Have someone else take the photo, or use a tripod with a timer. If you’re taking it yourself with a timer, make sure the phone is steady. Shaky hands mean blurry photos, and blur equals rejection.
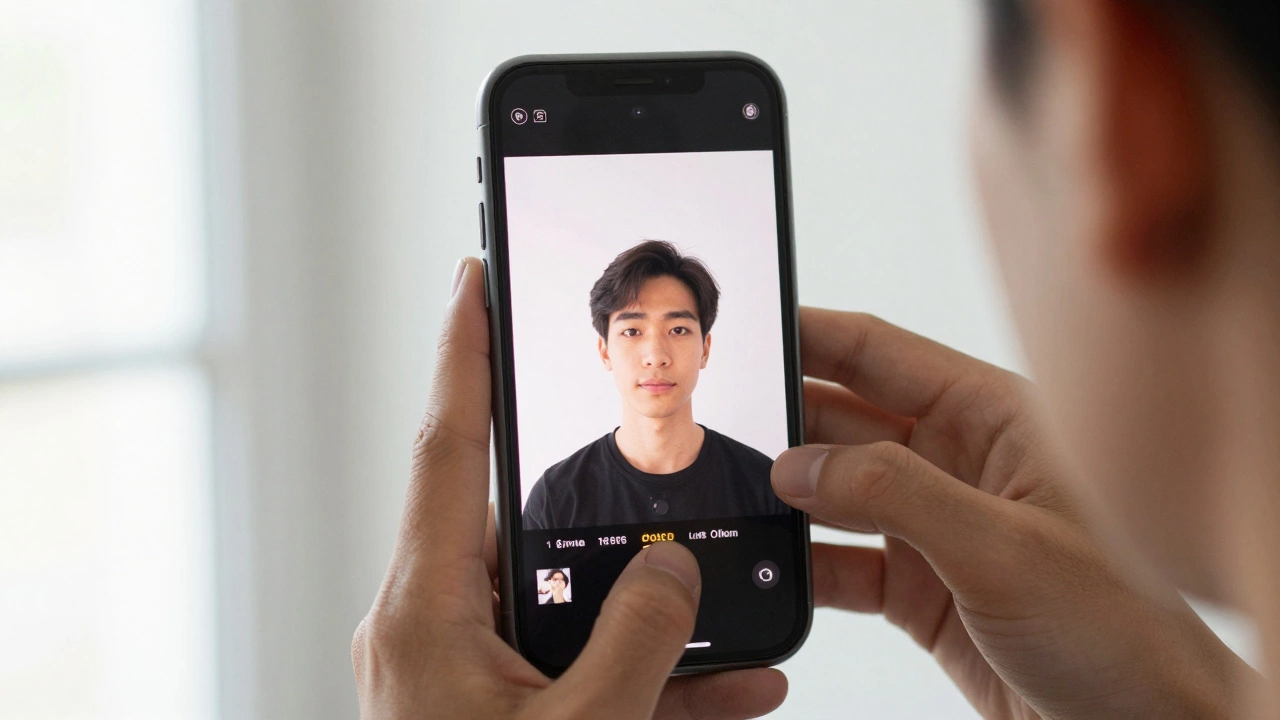
Taking the Photo: Technical Tips for iPhone Users
Open the Camera app. Switch to the standard rear camera, not the front-facing selfie camera. The rear cameras have higher resolution and better color accuracy. If you’re using an iPhone with multiple lenses, stick to the main wide lens. Avoid the ultra-wide or telephoto lenses unless you know exactly how they affect perspective distortion.
Tap on the screen to focus on the subject’s eyes. Once focused, slide your finger down slightly to lower the exposure. Passport photos should be bright but not washed out. Lowering the exposure helps keep the white background pure white instead of grayish due to overexposure.
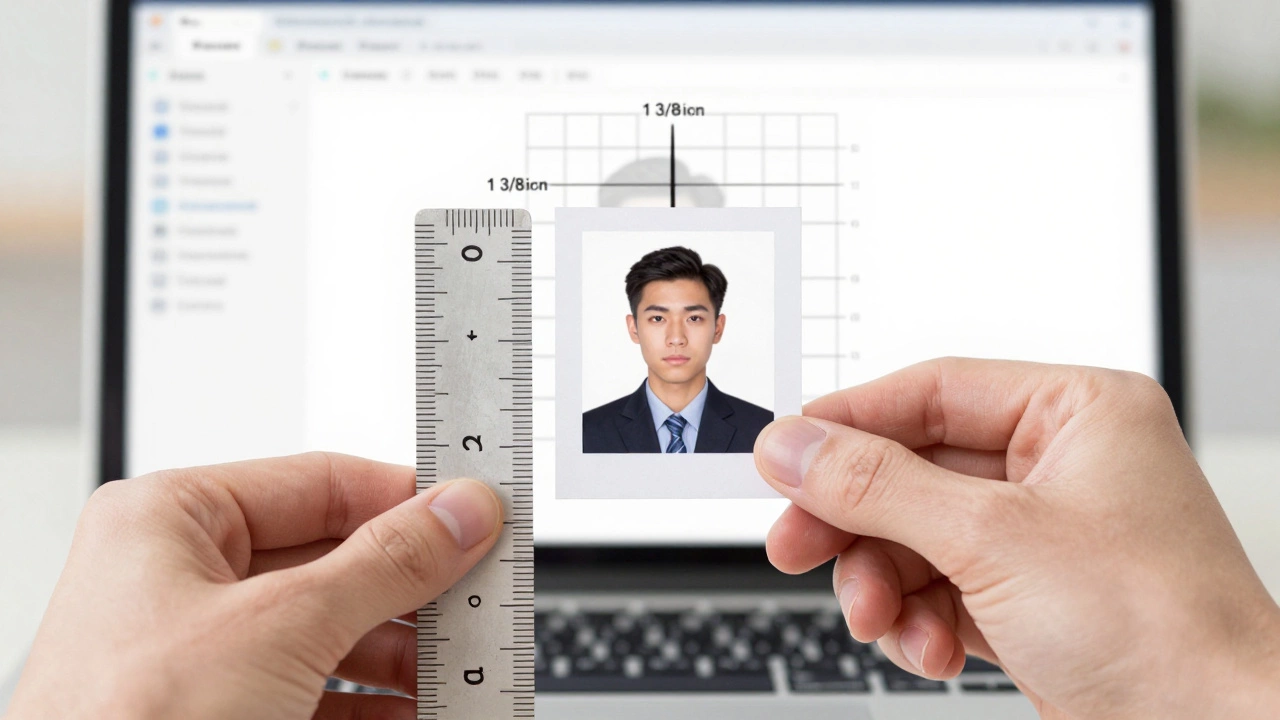
Ensure the subject’s head is centered. The distance from the bottom of the chin to the top of the head should be between 1 inch and 1 3/8 inches (25mm to 35mm). For a 2x2 inch photo, this means the face takes up about half the height of the image. Take several shots. Change the angle slightly each time. It’s easier to choose the best one later than to retake everything.
Cropping and Editing Without Breaking Rules
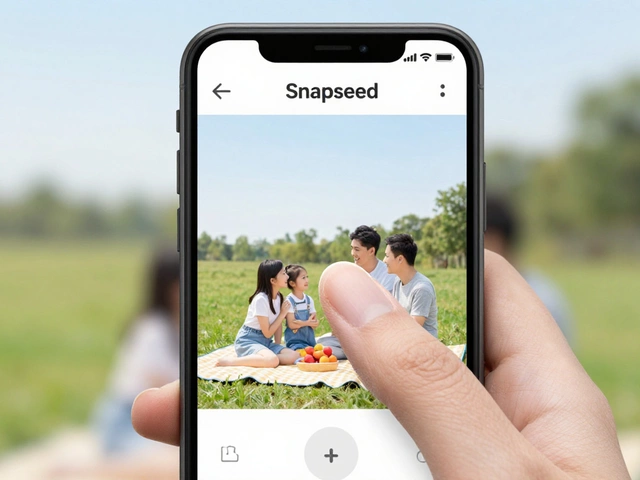
This is the critical step. You cannot just upload the raw photo. You need to crop it to the exact dimensions required. While you can use basic photo editors, dedicated tools are safer because they guide you through the measurements.
Many users turn to apps like Passport Photo Editor is software designed to automatically crop and resize images to meet government specifications. These apps often include AI features that detect the face and ensure the background is truly white. However, be cautious. Some free apps add watermarks or upsell premium features. Look for ones that allow manual adjustment so you can verify the measurements yourself.
If you prefer not to use third-party apps, you can use built-in tools or websites. The US State Department offers a tool on its website, though it has been updated over the years. Ensure whatever tool you use allows you to check the pixel dimensions. For example, a 2x2 inch photo at 300 DPI (dots per inch) needs to be 600x600 pixels. If you’re printing it, the file needs to be larger to maintain quality.
| Method | Cost | Control Over Quality | Ease of Use |
|---|---|---|---|
| iPhone + Window Light + Manual Crop | $0 | High (if skilled) | Medium |
| iPhone + Dedicated App | $0 - $5 | Very High | Easy |
| Photo Booth | $10 - $15 | Low | Very Easy |
| Professional Photographer | $20 - $50 | Highest | Easy |
Printing Your Passport Photo Correctly
If your application requires a physical copy, printing is another hurdle. Standard home printers often struggle with color calibration. A white background might print as slightly blue or yellow. This can lead to rejection.
For the best results, use high-quality photo paper. Glossy finish is generally preferred for passport photos because it reflects light evenly and looks sharper. Set your printer settings to "Photo" or "Best" quality. Do not use draft mode.
However, there’s a smarter way. Many online services allow you to upload your digitally compliant photo and then mail you a sheet of perfectly printed passport-sized photos. This ensures the color profile matches international standards. Services like SnappySnaps or PassportPhotoOnline.com specialize in this. They take your iPhone photo, verify it against government algorithms, and print it on calibrated equipment. It’s a small fee, but it removes the risk of home-printing errors.
Common Mistakes That Get Photos Rejected
Even with the best setup, small errors creep in. Here are the most frequent reasons DIY photos fail inspection:
- Uneven Eyes: One eye appears higher than the other. Keep the head straight, looking directly at the lens.
- Shadows: A shadow behind the head on the white background. Move further from the wall or improve lighting.
- Red-Eye: Caused by flash. Never use flash.
- Incorrect Size: The face is too big or too small. Use a ruler or a digital overlay to check proportions before submitting.
- Color Cast: The skin tone looks orange or green. Adjust white balance in editing, but don’t overdo it. Natural skin tones are required.
Always review the specific guidelines for your country. For instance, Indian passport photos have slightly different dimension requirements compared to US passports. Ignoring these nuances is the fastest way to get a rejection notice.
When to Stop and Pay a Professional
While DIY is cost-effective, it’s not always the best choice. If you have unique facial features, wear corrective eyewear that cannot be removed, or have a child who won’t sit still, a professional might be worth the investment. Professionals have backdrops that are professionally lit to eliminate all shadows. They also know how to position subjects to minimize double chins or asymmetry while staying within legal bounds.
Additionally, if you’ve already had a DIY photo rejected once, do not try again. The system flags repeat submissions. Go to a pro. It saves the stress of a second rejection and potential delays in your travel plans.
Can I use the front-facing camera on my iPhone for a passport photo?
It is not recommended. Front-facing cameras typically have lower resolution and wider lenses that distort facial features, making noses appear larger and faces rounder. Use the rear camera for accurate proportions and higher detail.
Do I need to remove my glasses for the photo?
Yes, in most cases. The US, UK, and many other countries now prohibit glasses in passport photos to prevent glare and obstruction of the eyes. Exceptions are only made for medical reasons documented by a doctor.
What is the ideal lighting setup for a DIY passport photo?
Face a large window during the day for soft, natural light. Avoid direct sunlight which causes squinting and harsh shadows. Do not use overhead indoor lights or the phone’s flash.
Can I edit my passport photo after taking it?
You can crop and adjust brightness/contrast, but you cannot alter facial features. Removing blemishes, changing eye shape, or whitening teeth excessively is considered fraud and will lead to rejection or legal issues.
How do I ensure the background is perfectly white?
Stand at least 3-4 feet away from a plain white wall. Use a white sheet if necessary. Ensure no shadows fall on the wall. When editing, use a tool to replace the background color if it’s slightly off-white, ensuring the transition is seamless.