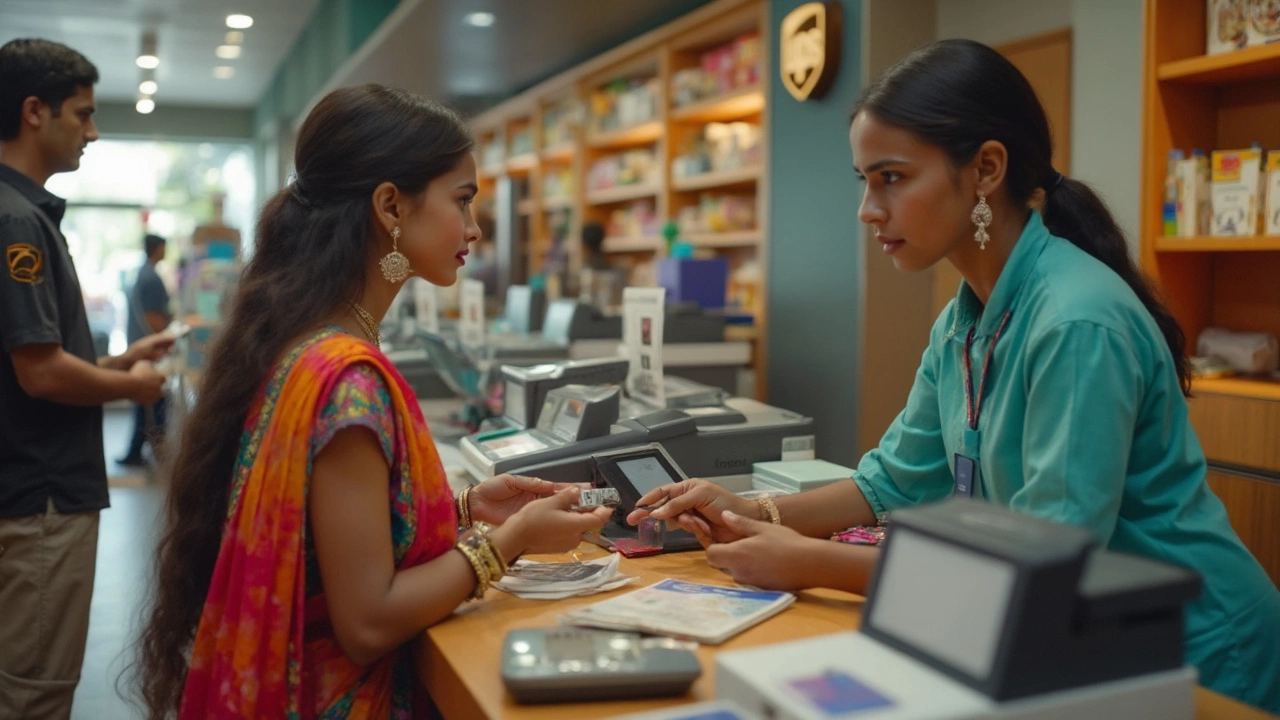
USB Photo Storage Guide – Easy Steps to Print Your Pictures in Mumbai
Got a bunch of pictures on a USB stick and want them printed fast? You’re not alone. Most of us grab a USB after a shoot, then wonder how to turn those files into high‑quality prints. This guide walks you through the whole process – from checking file formats to sending your USB to a local print shop.
1. Make Sure Your Files Are Ready
First thing – open the USB on your computer and look at the files. Most cameras save photos as JPG or PNG, which print shops accept without a hassle. If you see RAW files (like .CR2 or .NEF), you’ll need to convert them to JPG first. Free tools like Photos on Windows or Preview on Mac can do that in a few clicks.
While you’re checking, also sort out the resolution. For a standard 8×10 print you’ll want at least 300 dpi. If the picture looks pixelated on your screen, ask the photographer for a higher‑resolution version before you print.
2. Choose the Right USB Size and Format
Most people use a 4 GB or 8 GB stick for a wedding album – that’s plenty of space for a few hundred high‑res photos. If you’re dealing with dozens of large files, go for a 16 GB or 32 GB drive. Remember to format the USB to exFAT or FAT32. exFAT works with both Windows and Mac and handles large files better than FAT32.
To format, right‑click the drive, select “Format…”, choose exFAT, and click “Start”. This erases everything, so back up any important data first.
3. Sending Your USB to a Mumbai Print Shop
When you drop off your USB at a local shop like ours, the staff will quickly scan the drive, confirm the file types, and give you a price estimate. Most shops charge per square inch, but many offer flat‑rate packages for album orders.
If you prefer not to travel, many print services let you mail the USB. Use a padded envelope, add a short note with your order details, and ship it via a reliable courier. We’ll email you a proof before printing, so you can approve the colors and cropping.
4. Quick Tips for Fast Turnaround
- Label your USB. Write the event name and date on the stick – it saves time when the shop receives multiple orders.
- Keep file names simple. Avoid special characters (like #, &, %) that can confuse some software.
- Separate edits from originals. Create a folder called “Print Ready” for the final versions you want to print.
- Ask for a digital proof. A quick PDF preview lets you catch any mistakes before the ink hits the paper.
Following these steps means you’ll walk out with crisp, vibrant prints and zero headaches. Got more questions? Our team in Mumbai is just a call away, ready to help you turn that USB stash into beautiful photo walls.
