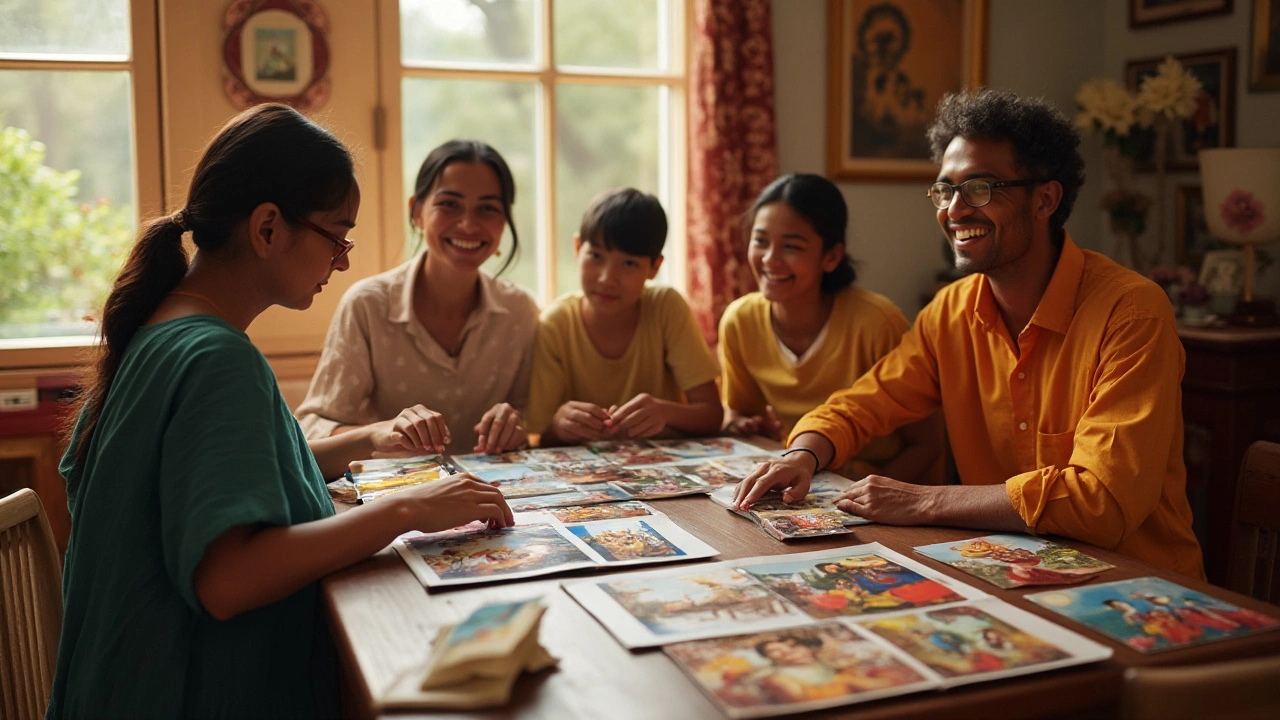
Photo Book Tips: Make a Beautiful Album Without the Headache
If you’ve got a pile of great pictures and want to turn them into a real book, you’re in the right spot. You don’t need a design degree or fancy software – just a few smart moves and the right app. Below are the steps that will get your photos from screen to coffee‑table in the simplest way possible.
Pick the Right App First
There are dozens of photo book makers, but three stand out for ease of use and print quality: Shutterfly, Mixbook, and Canva. All three let you drag‑and‑drop images, choose layouts, and add captions. The free versions give you enough templates to start, and you only pay when you order a printed copy. Test each one with a few pictures; the one that feels fastest is the one you’ll enjoy using.
Design Basics Anyone Can Follow
Don’t overthink the layout. Stick to one or two photos per page for a clean look, and let the white space do the work. Use a consistent font for all captions – something simple like Arial or Helvetica works fine. Group images by theme (travel, family, milestones) so the story flows naturally. If you have a lot of shots from one event, pick the most expressive three and drop the rest.
Colors matter, too. Match the background color to the dominant hue in your photos. For beach shots, a light blue works; for autumn leaves, a warm beige feels right. Most apps have a “auto‑match” feature that suggests a palette based on the first image you pick – use it as a shortcut.
Margins are another easy win. A ¼‑inch border around each picture keeps the pages from feeling cramped. If the app lets you preview a double‑page spread, flip through it before you order to catch any awkward cropping.
When you add text, keep it short. A line or two of context is enough – think of it as a caption, not a story. If you want a longer narrative, put it at the front or back of the book where there’s more space.
One trick photographers love is to use the “fit to page” option for portrait images and “fill” for landscape shots. This keeps each picture looking sharp and avoids weird stretching.
Now for the printing part. Most online services ship within a week, but if you’re on a deadline, choose the express option. Check the paper type – glossy gives vivid colors, matte feels more elegant and reduces glare. For a family album, matte is often the better choice.
Before you click “order,” order a small proof of one or two pages. This cheap test shows you how the colors and paper look in real life and helps you avoid surprise re‑orders.
Finally, think about the cover. A thick, matte hardcover with a photo you love on the front makes a lasting impression. Some services let you add a title and date, which helps you find the album later.
That’s it – pick an app, keep the layout simple, match colors, add short captions, and preview before you print. Follow these tips and you’ll have a polished photo book that friends will admire and you’ll be proud to show off.