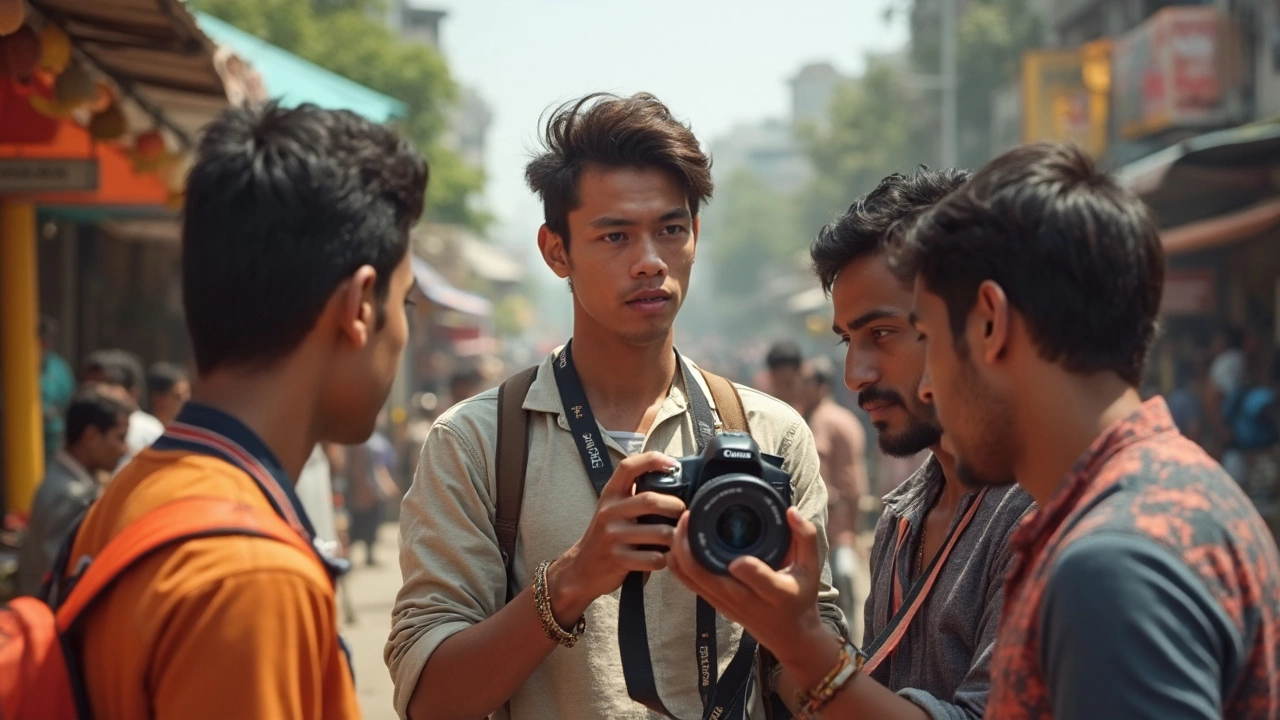
DSLR Basics – Quick Start Guide for New Photographers
Got a DSLR and feeling a bit lost? You’re not alone. Most first‑time users stare at the countless dials and buttons and wonder where to begin. This guide cuts through the noise and gives you the essential info you need to start shooting good photos right away.
First thing to know: a DSLR is just a tool that follows three basic rules – expose the light, focus the subject, and frame the scene. If you keep those in mind, every other setting becomes a tweak, not a mystery.
Understanding the Core Controls
Mode dial – This is the wheel on top of the camera. It lets you choose how much control you want. “Auto” does everything for you. “A” (or “Av”) lets you set the aperture while the camera decides the shutter speed. “S” (or “Tv”) is the opposite: you pick the shutter speed, the camera picks the aperture. “M” gives you full manual control over both.
Aperture (f‑stop) controls how much light enters the lens and how much of the scene is in focus. A low number like f/2.8 creates a blurry background (great for portraits). A high number like f/16 keeps everything sharp (ideal for landscapes).
Shutter speed is how long the sensor is exposed to light. Fast speeds (1/2000 sec) freeze motion – perfect for sports. Slow speeds (1/30 sec) blur movement, which can add drama to waterfalls or night shots.
ISO tells the sensor how sensitive it should be. Low ISO (100‑200) gives clean, noise‑free images in bright light. Higher ISO (800‑3200) helps in low‑light situations but adds grain. Keep ISO as low as you can while still getting a proper exposure.
These four knobs – mode, aperture, shutter speed, ISO – are the heart of any DSLR. Play with them in “A” or “S” mode first; you’ll see how they affect each other and start building intuition.
Practical Tips to Improve Your Shots
1. Use the viewfinder. It shows the exact framing and exposure before you press the shutter. Relying on the LCD screen can waste battery and cause missed moments.
2. Focus on the eyes. For portraits, place the focus point on the subject’s eyes. Most DSLRs let you move the focus point with a joystick or touch screen – use it.
3. Mind the light. The best photos are taken when the light is soft – early morning or late afternoon. Harsh noon sun creates hard shadows; use a reflector or move to shade if you can’t wait.
4. Shoot in RAW. RAW files keep all the data from the sensor, giving you flexibility in post‑processing. JPEG compresses the image and loses detail, which can hurt you later.
5. Practice the “one‑second rule”. Before you click, take a breath and count to one. This pause steadies your hands and reduces camera shake, especially at slower shutter speeds.
6. Learn basic composition. The rule of thirds is a good starter: imagine a 3×3 grid and place key elements along the lines or at their intersections. It makes photos feel balanced without much effort.
7. Check your histogram. This graph shows the distribution of tones in your image. Aim for a spread that avoids clipping on the left (blacks) and right (whites) unless you’re going for a high‑contrast look.
8. Keep lenses clean. A smudge on the glass can ruin an otherwise perfect shot. Use a microfiber cloth and a gentle blower to remove dust before you start shooting.
By mastering these basics, you’ll move from point‑and‑shoot mode to intentional photography faster than you think. Remember, the camera does what you tell it – the more you understand its language, the better the results.
Start experimenting today. Set your mode to “A”, pick a wide aperture, and shoot a portrait in daylight. Then flip to “S”, choose a fast shutter, and capture a moving car. You’ll see the difference instantly, and confidence will grow with each click.
Happy shooting, and enjoy the learning process. The best camera is the one you hold, not the one on the shelf.
