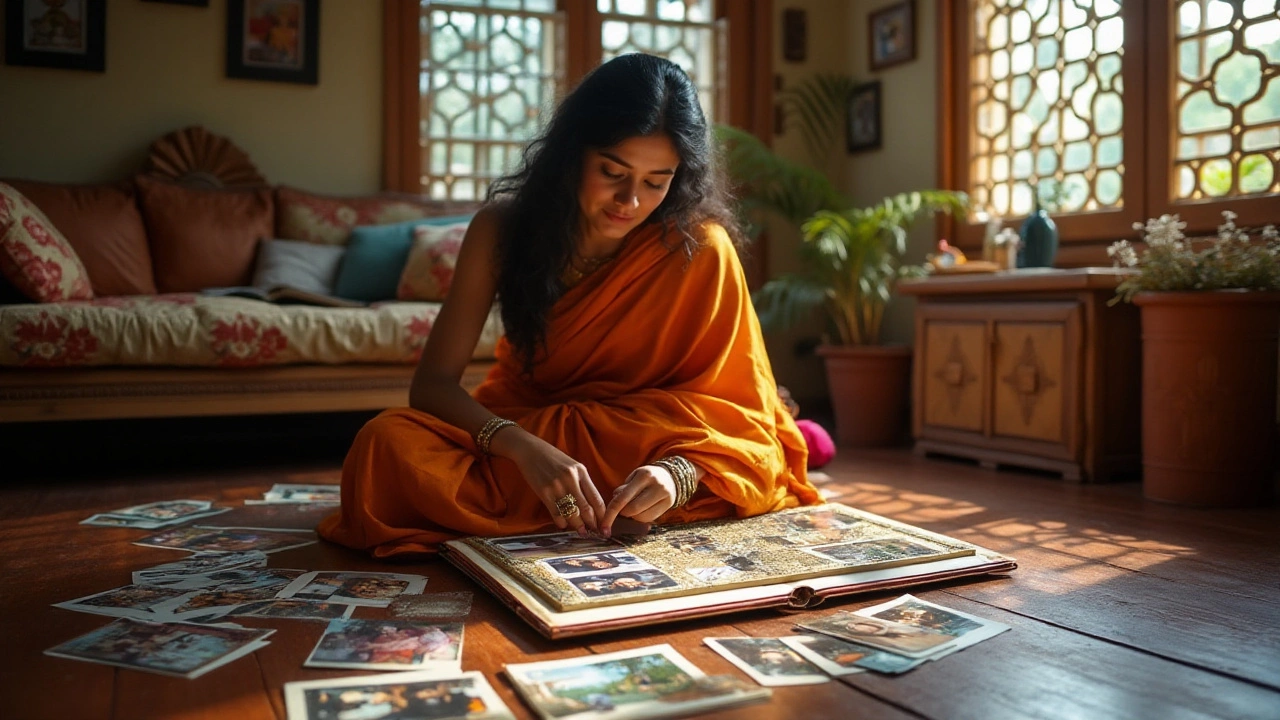
DIY Photo Album: Simple Steps to Make a Stunning Album at Home
Ever looked at a cheap, store‑bought photo album and thought, “I can do better”? You’re not alone. Making your own photo album lets you pick the layout, choose the paper, and add personal touches that a mass‑produced book can’t match. The best part? You don’t need pricey equipment—just a few supplies and a bit of creativity.
Gather Your Photos and Supplies
Start by selecting the photos you want to showcase. Aim for a mix of high‑resolution shots and meaningful candid moments. Once you’ve chosen them, sort them chronologically or by theme—travel, family, milestones—to give the album a natural flow.
Here’s a quick supply checklist:
- Sturdy cardstock or photo‑grade paper (120‑160 gsm works well)
- Scissors, a craft knife, and a cutting mat
- Adhesive – double‑sided tape, glue dots, or spray glue
- Album cover material – leatherette, fabric, or decorative paper
- Binder rings, a spiral binding, or a simple three‑hole punch with ribbon
- Stickers, washi tape, and decorative elements for flair
All of these can be found at a local craft store or ordered online. If you’re tight on budget, reuse old greeting‑card paper for the pages and repurpose a plain binder as the spine.
Design Your Layout
Before you start gluing, sketch a rough layout on a scrap piece of paper. Decide how many photos go on each page and where you’ll add captions. A common rule is to keep one to three photos per spread—too many makes the page feel cluttered.
If you like a clean look, leave plenty of white space around each picture. For a scrapbook vibe, overlap photos and add embellishments like ticket stubs or dried flowers. Use a ruler to keep margins even; consistency makes the album look professional.
When adding captions, keep them short and personal. A simple date or a one‑sentence memory brings the image to life without overwhelming the page.
Assemble the Album
Cut your pages to the desired size—standard sizes are 8×10 inches or 5×7 inches. Punch holes if you’re using rings or ribbon. Lay out the photos on each page according to your sketch, then attach them with your chosen adhesive. Press gently to avoid bubbles.
After all pages are filled, organize them in order and secure them with the binding method you chose. If you used binder rings, simply slide the pages onto the rings and close. For a sewn spine, follow a simple 3‑strand stitch—many tutorials are available on YouTube.
Finish the cover by cutting your chosen material to size, then glue it to the front and back covers of the album. Add a title—your name, the year, or a fun phrase—using a label or hand‑lettered lettering.
Tips to Make It Look Pro
• Protect your photos. Use acid‑free tape or photo corners to prevent yellowing.
• Play with textures. Mix matte and glossy paper for depth.
• Keep it consistent. Choose a color palette (e.g., pastels, neutrals) and stick to it throughout.
• Use a lightbox. If you’re printing photos at home, a lightbox helps you align them perfectly.
With these steps, your DIY photo album will feel like a cherished heirloom rather than a quick printout. Share it with family, gift it for a birthday, or keep it on your coffee table as a conversation starter. The satisfaction of flipping through a book you built yourself is unbeatable—plus, you’ll have full control over every detail.
Ready to start? Grab those photos, a few supplies, and get creative. Your personalized album is only a weekend away.
